Objective: students will understand the evolution of the camera.
Take a look through some of the most important advancements in science and technology that led to the cameras we use today!
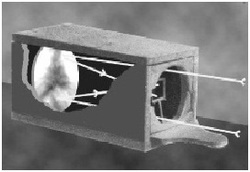
1. camera obscura
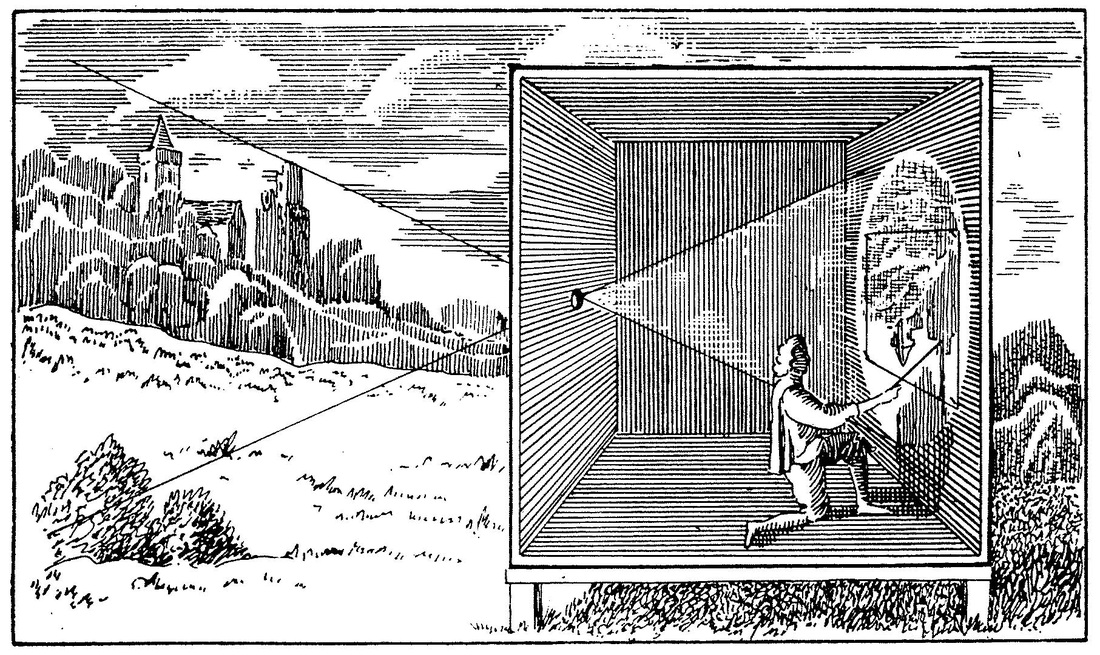
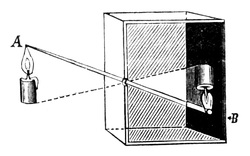
It all started with camera obscura... which is basically just a box with a pinhole. The light reflecting off of an object goes through the pinhole and projects its image on the far side of the box. This was used by artists to "copy" images from real life.
can you and your group build your own camera obscura? let's try!
2. Silver nitrate sensitivity- johann heinrich schulze (1727)
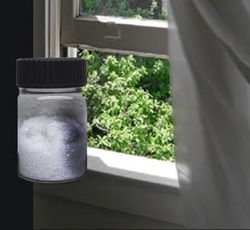
Schulze discovered that silver nitrate darkened when exposed to light. This was the first step in being able to "record" an image made from light.
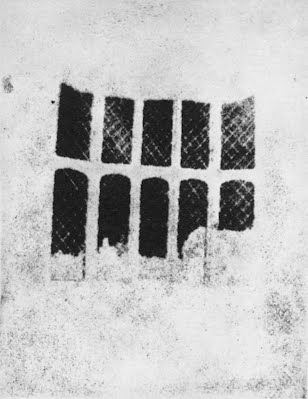
3. first photo- joseph nicephore niepce (1826)
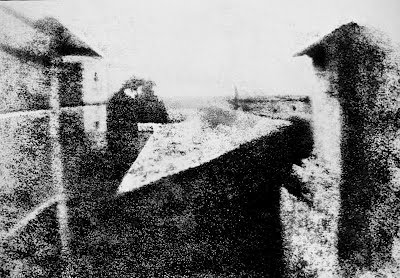
View from the Window at Le Gras, 1826

The first photo was made by using a pewter plate that was covered in bitumen and exposed to light. The light areas hardened the bitumen and the rest of the areas were washed away with the oil of lavender. The resulting image revealed light regions of hardened bitumen and dark areas of bare pewter.
Advantage: A photo!
Disadvantage: It took 8 hours of exposure time! And the image somewhat fades.
Advantage: A photo!
Disadvantage: It took 8 hours of exposure time! And the image somewhat fades.
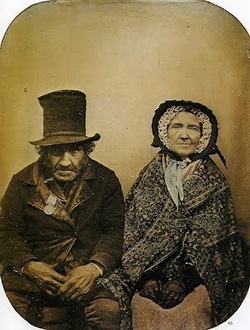
4. daguerreotype- louis daguerre (1838)
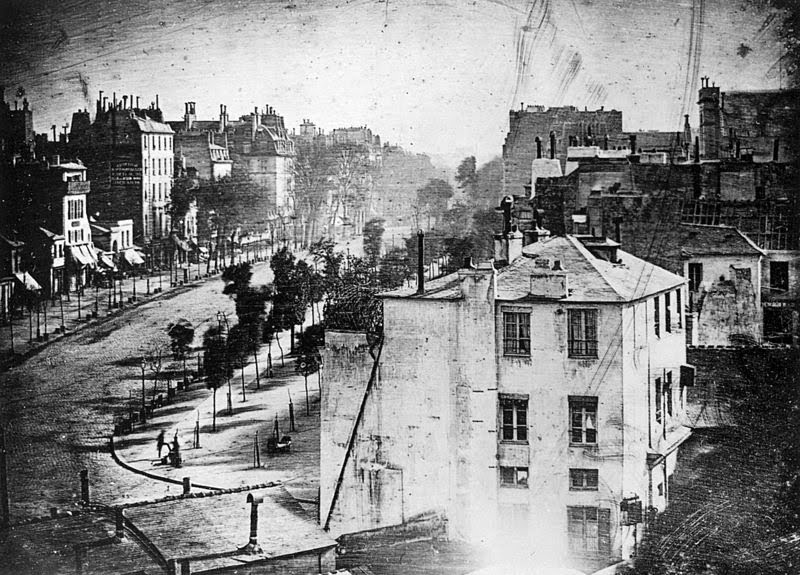
This was the first-ever photo of a human! Can you find the man getting his shoes shined? He stayed in one place long enough for the camera to record him. Others were walking around the street but their image was not recorded because they were moving around.
In this process, the exposure plate is treated with mercury fumes to make it more sensitive. The exposure time goes down to 30 minutes (instead of 8 hours).
Advantage- Faster exposure and more permanent image.
Disadvantage- Still took 30 minutes to take a photo.
In this process, the exposure plate is treated with mercury fumes to make it more sensitive. The exposure time goes down to 30 minutes (instead of 8 hours).
Advantage- Faster exposure and more permanent image.
Disadvantage- Still took 30 minutes to take a photo.
5. Concave mirror in camera- alexander wolcott (1839)
Instead of using a lens, a concave mirror was used to focus the light onto the exposure plate. This intense light reduced the exposure time to 5 minutes.
Advantage- Faster exposure!
Disadvantage- Still took 5 minutes to take a photo.
Advantage- Faster exposure!
Disadvantage- Still took 5 minutes to take a photo.
6. calotype- (copies!)- william henry fox talbott (1841)
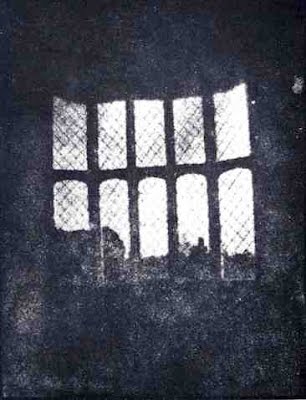
The image was made as a "negative," from which a "positive" copy could be made. For the first time, multiple copies could be made of an image.
Advantage- Multiple copies could be printed
Disadvantage- 30 minute exposure time
Advantage- Multiple copies could be printed
Disadvantage- 30 minute exposure time
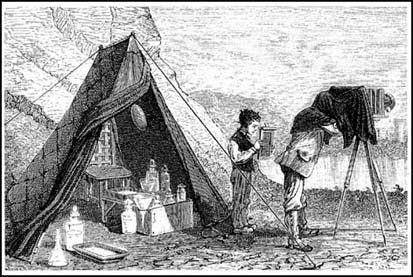
7. collodion process- frederick scott archer (1851)
The exposure plate is treated with collodion (a liquid chemical) which makes the plate extra sensitive to light. Exposure time is reduced to 2-3 seconds.
Advantage- Faster exposure!
Disadvantage- Messy and not portable. Plate needs to be exposed and printed right away.
Advantage- Faster exposure!
Disadvantage- Messy and not portable. Plate needs to be exposed and printed right away.
8. trichromatic process- james clerk maxwell (1861)
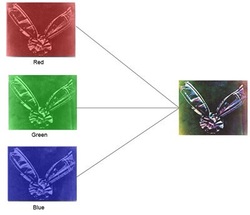
Three glass slides were made of tartan ribbon image. Each shot was taken with a color filter (red, blue, green). Then using a "magic lantern" the image of the slide was simultaneously projected three times through a red, blue and green color filter. These projections were focused and reassembled together onto one, full color image.
Advantage- First attempt at color images
Disadvantage- Was really just a projection and not a photo on paper.
Advantage- First attempt at color images
Disadvantage- Was really just a projection and not a photo on paper.
9. Gelatin emulsion / dry plate- richard maddox (1871)
Gelatin coating was used to make a dry plate. This meant that a photo could be exposed but developed later! This made photography portable for the first time. It also made plates commercially available since you didn't have to prepare them yourself.
Advantage- Portability
Disadvantage- Longer exposure times (30 seconds to 15 minutes)
Advantage- Portability
Disadvantage- Longer exposure times (30 seconds to 15 minutes)
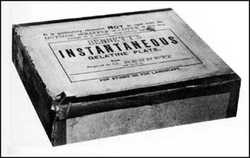
10. flexible photo paper- george eastman (1884)
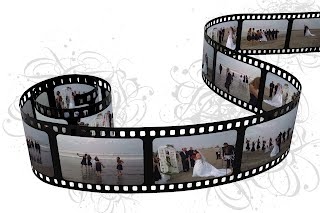
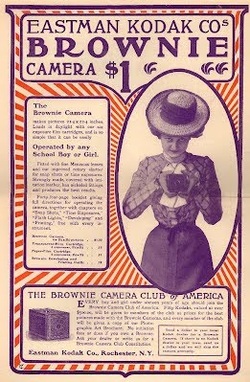
Film!
Advantage- Many exposures, very portable, could be sent away for development
Disadvantage- ???
Advantage- Many exposures, very portable, could be sent away for development
Disadvantage- ???
digital sensors
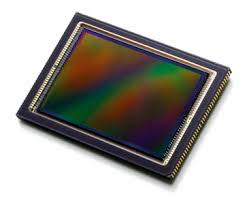
Switching from film to a digital sensor allowed images to be further manipulated.
Advantage- Delete unwanted exposures, digital manipulation
Disadvantage- ???
Advantage- Delete unwanted exposures, digital manipulation
Disadvantage- ???
