Objectives: Students will use a fast shutter speed in tv mode to photograph ink as it disperses in water.
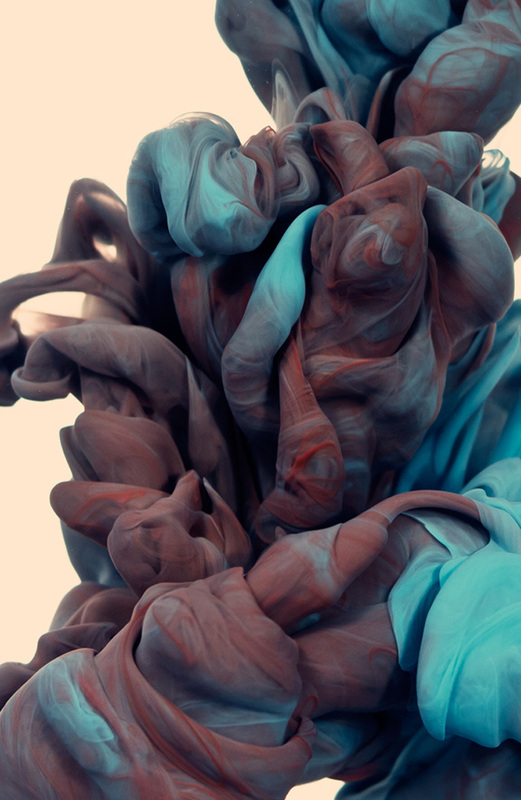
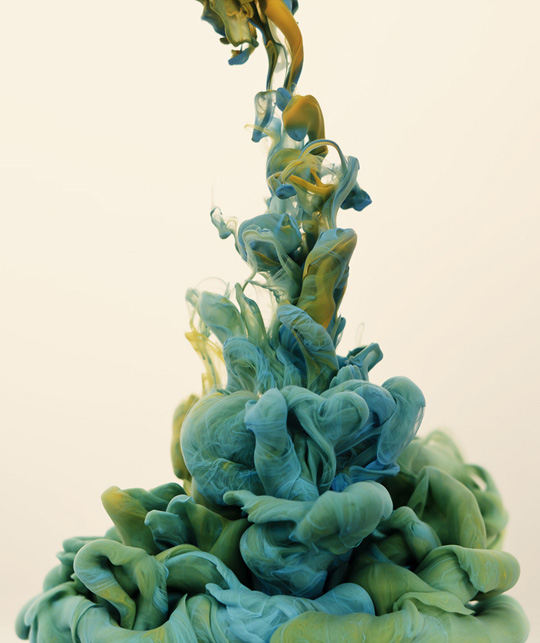
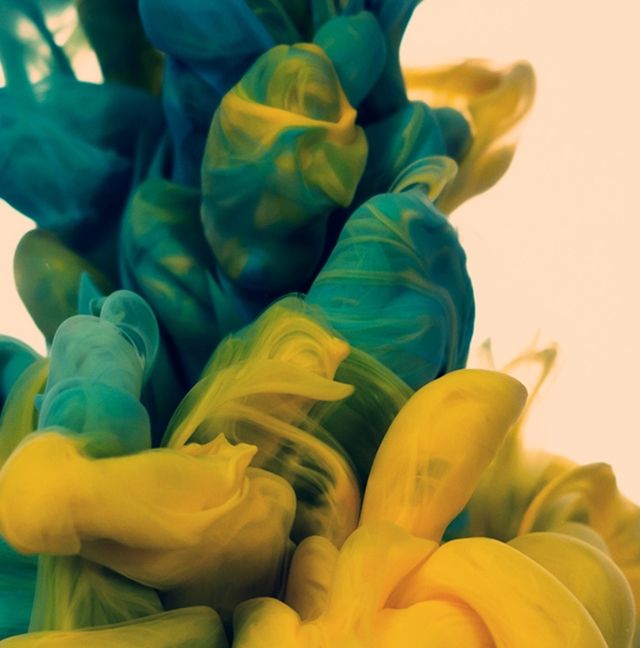
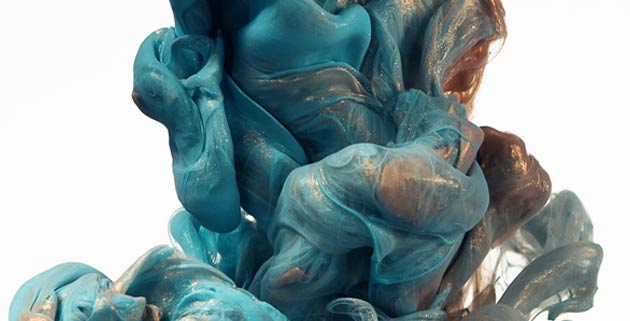
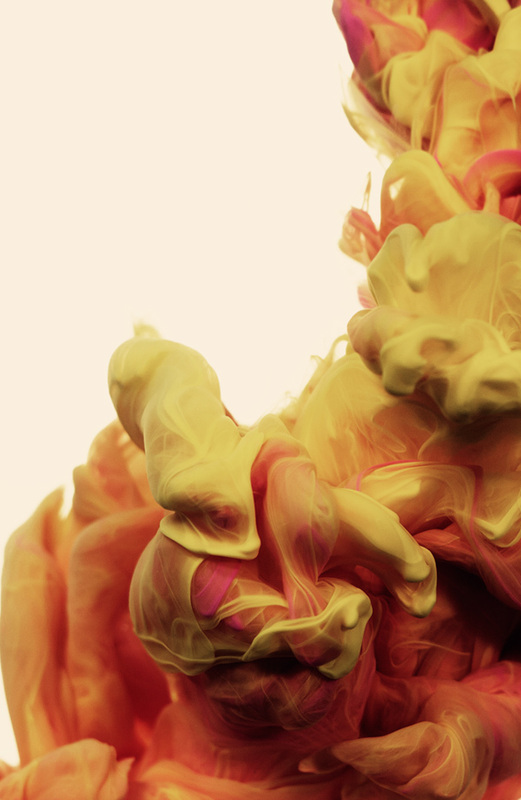
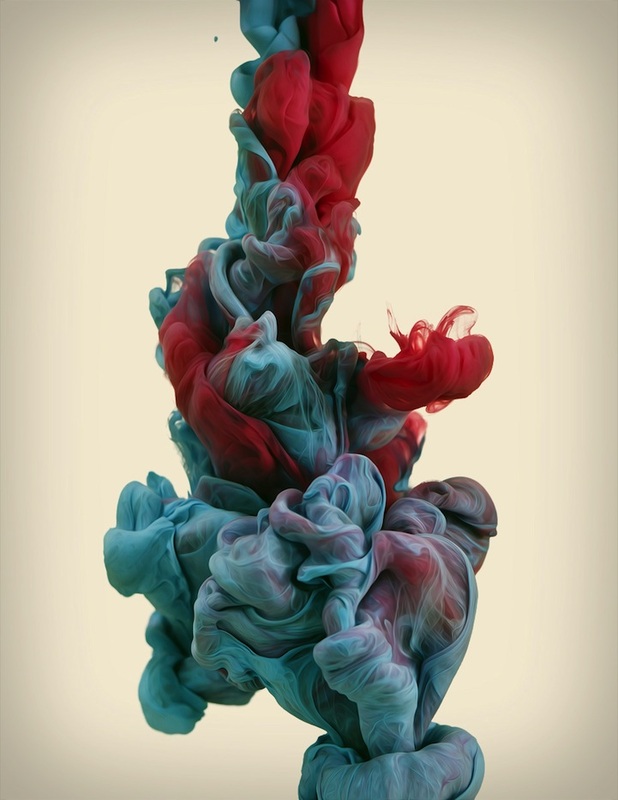
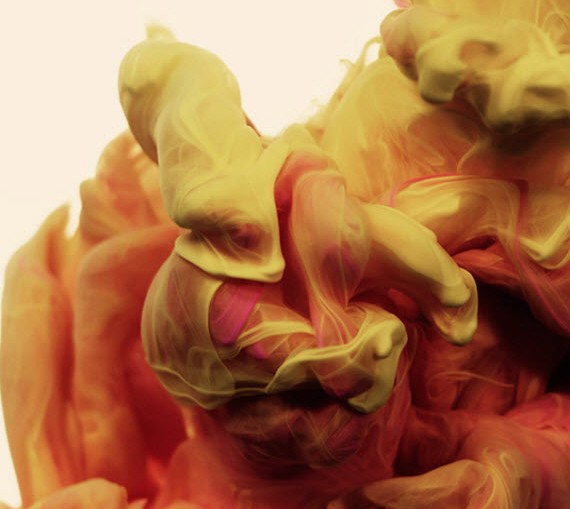
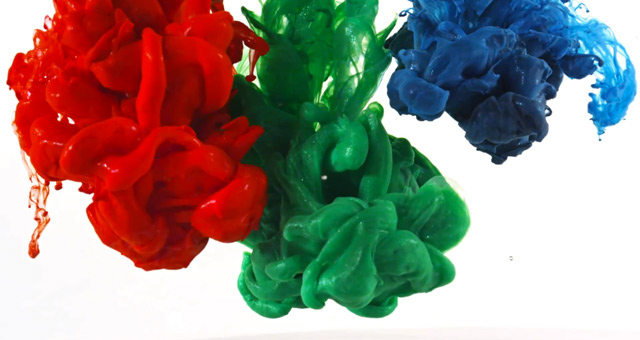
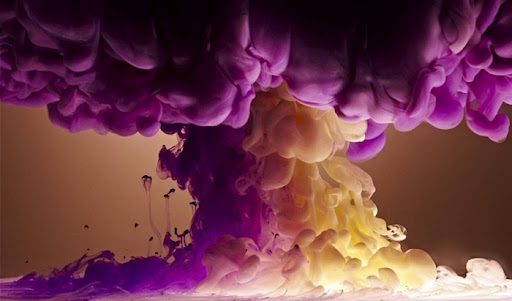
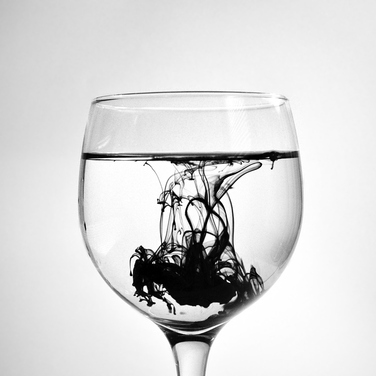
Examples of ink photography


Shooting
- Tv Mode- fast shutter, try around 1/200.
- Focus: Manual
- Drive Mode: Continuous
- ISO: Auto
- Flash: OFF
- Shooting Instructions: Get your camera close to the glass vessel, try to zoom in on just the ink, do not get the edges of the the vessel in the photo if you can help it. Delegate one person to be in charge of dropping the ink in the water while you shoot.
Editing your image in photoshop:
- What we will do to our photos:
- Crop
- Lighten background
- Sharpen
- Remove Spots
- Add contrast with Curves
- Adjust color with Color balance.
step 1: unlock
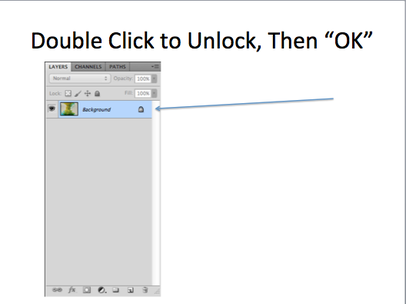
- First, unlock your layer by double-clicking the pad lock icon.
- When the "new layer" box pops up, click OK.
step 2: crop
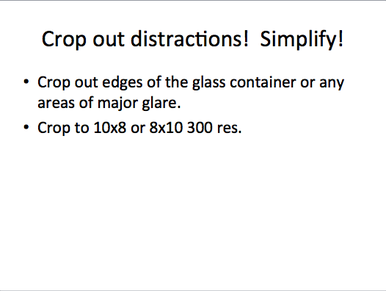
- Crop to improve your composition.
- If you have anything distracting in your photograph (like obvious glares, or the glass container) crop those elements out.
- Crop to 10x8, or 8x10 300 resolution.
step 3: "replace color" to lighten background
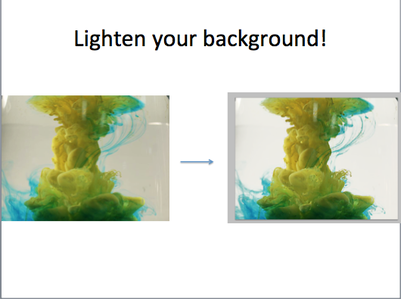
Next we will lighten the background and remove any ugly color-casts so it appears white...
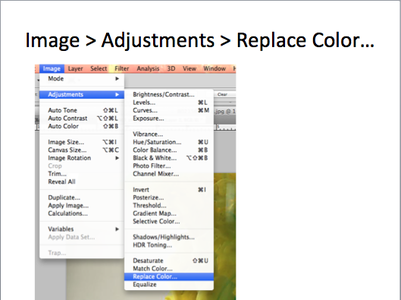
- Go to Image > Adjustments > Replace Color...
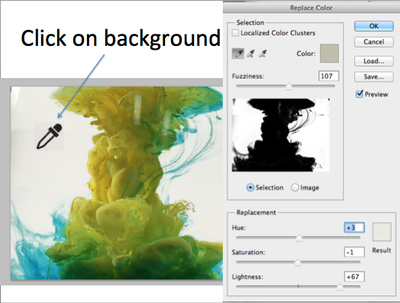
- Click on the background area of your photograph, the area you want to lighten.

- In the "Replace Color" Box, there is a preview window. In it you will see the selected areas appear white, while the areas NOT selected appear black.
- You want all of the background to appear white, but not so much that parts of your ink turn white.
- Increase or decrease the "fuzziness" slider. Increasing it will increase the range of colors selected. Decreasing it will decrease the range of colors selected. Do this until you have just the background selected, not the ink.
- Now increase the lightness slider at the bottom until the background is lighter and near-white.
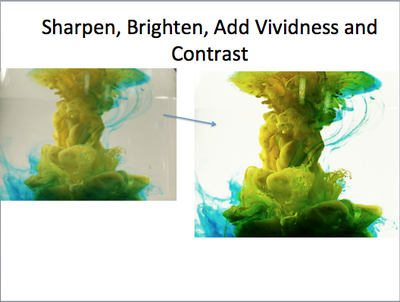
step 3: Sharpen
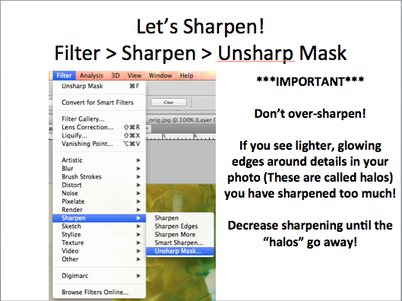
- Let's sharpen our image!
- To do this, go to Filter > Sharpen > Unsharp Mask
- Adjust the sliders to sharpen to your liking.
- Be careful not to OVER-SHARPEN! It looks bad!
- If you see lighter, glowing edges appear around the details in your photo, you have over-sharpened. (these are called halos)
- Decrease the sharpening until the "halos" go away.
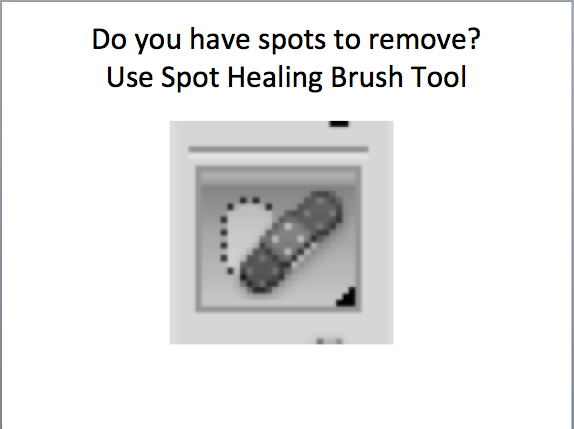
step 4: do you need to remove spots?
|
|
step 5: curves adjustment to add contrast
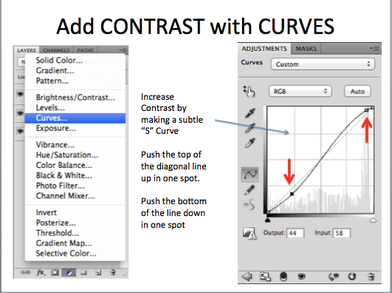
- To increase the contrast in your photo, add a "curves adjustment" by click on the "Add Adjustment Layer" button at the bottom of your layers panel (looks like a black and white cookie) and selecting "Curves."
- Click on the diagonal line somewhere towards the very top, then slightly drag upwards. This will lighten the light areas of your photo.
- Then click on the diagonal line somewhere towards the bottom, the slightly drag downwards. This will darken the dark areas of your photo.
- By doing this, you should have created a very subtle "S" shaped curve on the graph. Whenever you have an S shape curve, you increase the contrast.
step 6: Hue/Saturation Adjustment
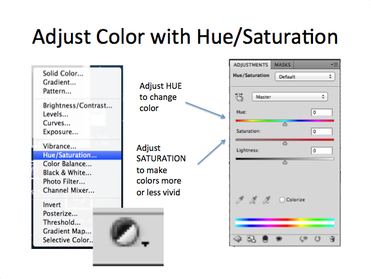
- Next, you may want to experiment with changing the colors a bit.
- To do this, add a " hue/saturation adjustment layer" by clicking on the "add adjustment layer button" (looks like a black and white cookie) and then selecting "hue/saturation"
- Move the HUE slider to change the color of your ink.
- Move the SATURATION slider to change the intensity of color.
step 8: save twice
- Remember to save your work twice!
- Your file name should be "Your Name Ink Drop 1, 2, 3"
- Your file should be saved to "Pictures" folder.
- You should save one copy in Photoshop format (.PSD)
- Save a second copy in JPEG format (.JPG)
edit 3 photos total. submit to schoology
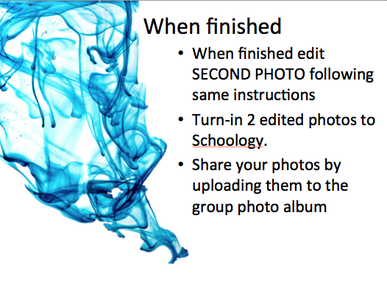
- When you are finished, edit a SECOND ink photograph by following the same instructions above.
- Submit your 3 best images to Schoology.
