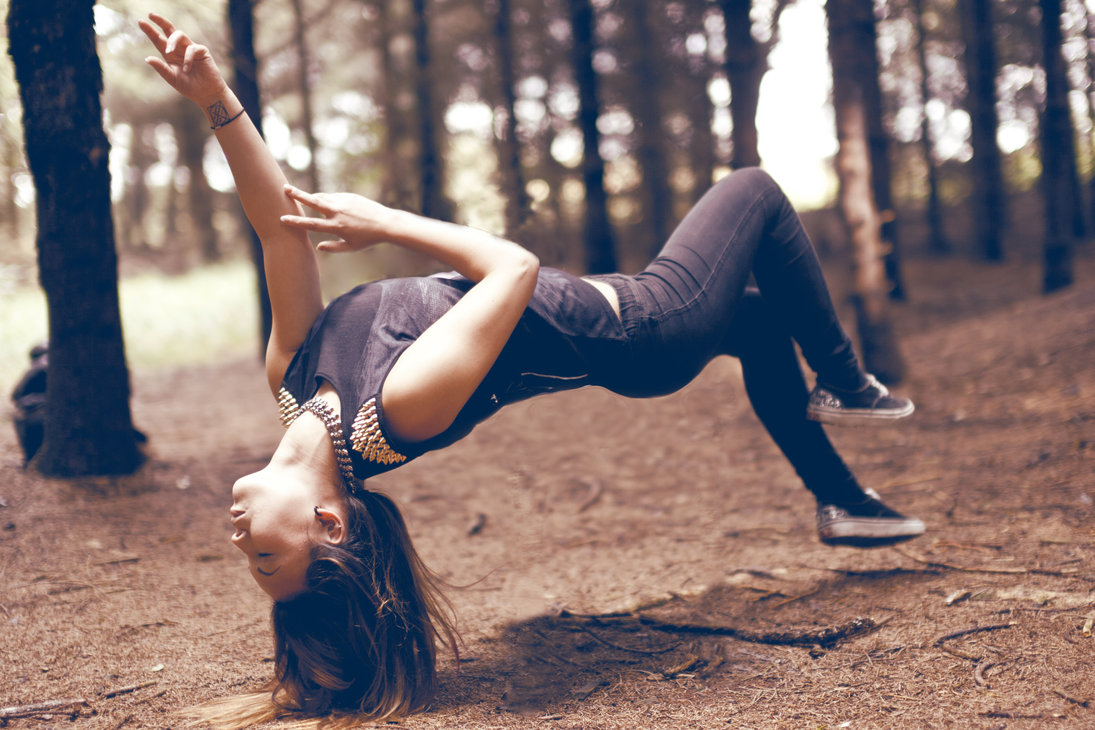
objectives: students will create the illusion of levitation in a photograph using multiple exposures and layer masks in photoshop.
Your assignment:
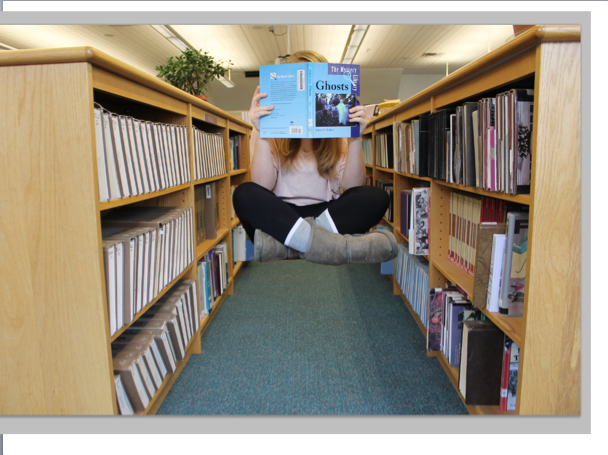
Make a levitation photo!
How it's done...
A photo is first taken of a plain background. Then, without moving the camera, you will take a second picture with your model in it. Your model will sit/lay/stand on a prop like a stool, ladder or chair. Then, in Photoshop, we will create 2 layers from the photographs and use layer masks to mask out or hide the stool from the photo of the model.
Shooting instructions:
- Use Manual, Av or Tv exposure modes.
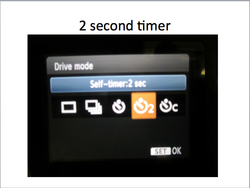
- Set your drive mode to your 2 second or 10 second timer.
- Use a tripod!
- Do not move camera in between shots.
- Make sure whatever you/your model stands on can be REMOVED so it is not in the background shot.
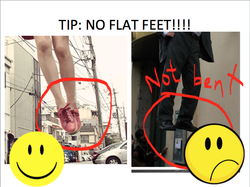
- If standing on a stool/ladder, try to point your toes down to make it look like you are floating. Flat feet will be a give away that you are standing on something.
- If you are laying down on a chair/stool, have your shirt/clothing drape loosely over the edge, not bunched up under your body, again to hide the fact that you are actually laying on something.
- Make your shot INTERESTING and CREATIVE. Think about your composition, your background, your lighting, your depth of field, etc.
photoshop instructions:
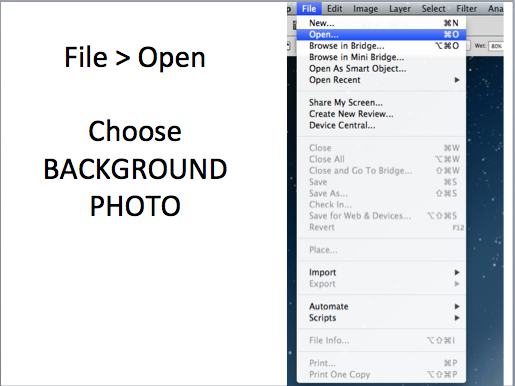
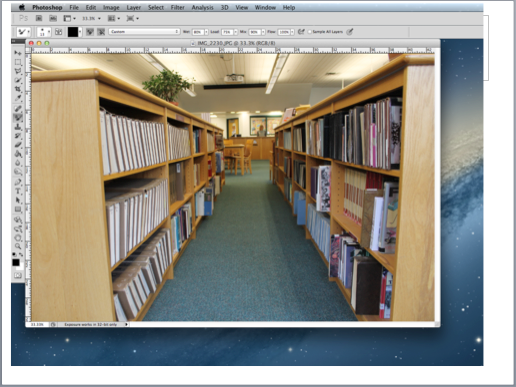
1. open background photo
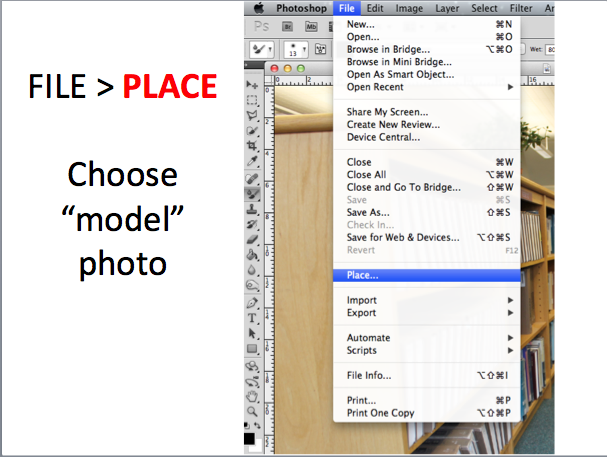
2. place model photo
3. align layers
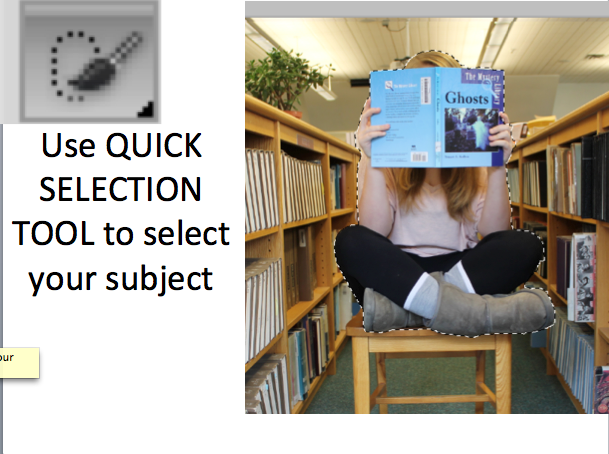
4. quick select your model
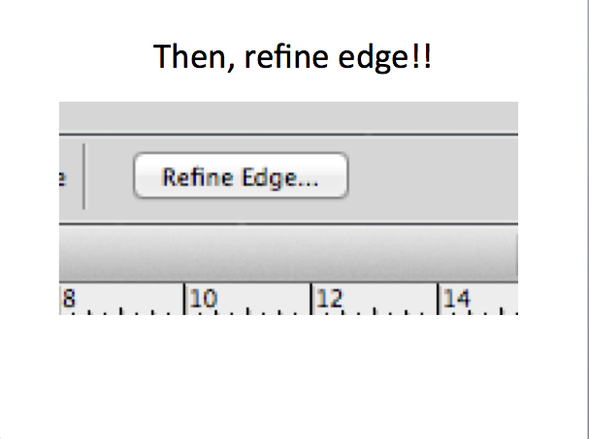
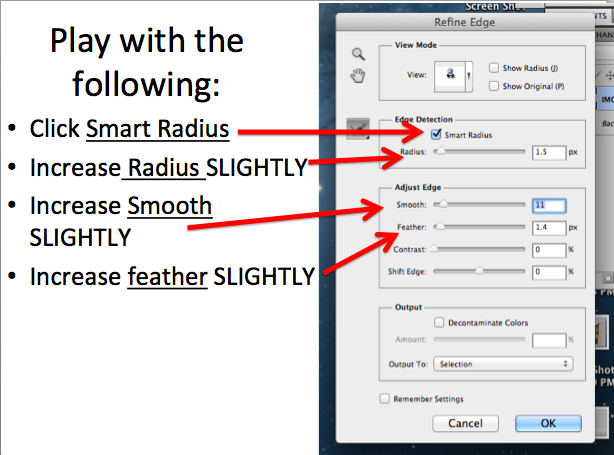
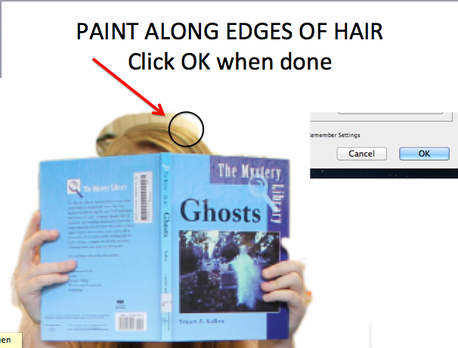
5. refine your edge
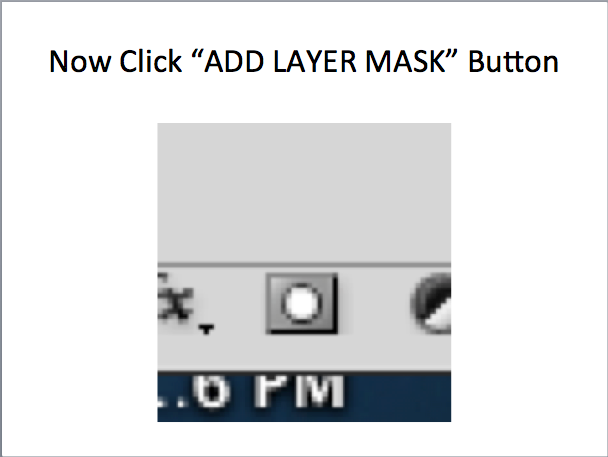
6. add layer mask
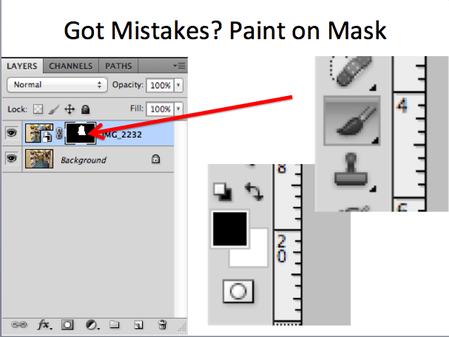
7. adjust mask (if you have mistakes)
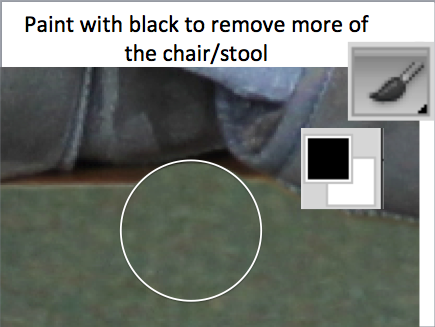
Paint with BLACK PAINT to hide part of your top layer.
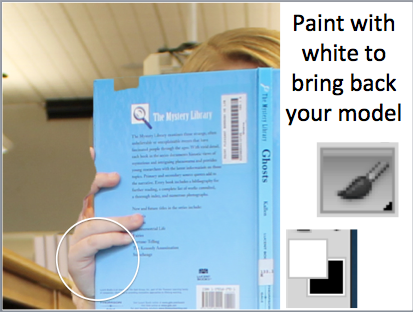
Paint with WHITE PAINT to reveal part of your top layer.
If you need to BLEND OUT AN EDGE, use 50% Opacity and a SOFT EDGE brush.
Paint with WHITE PAINT to reveal part of your top layer.
If you need to BLEND OUT AN EDGE, use 50% Opacity and a SOFT EDGE brush.
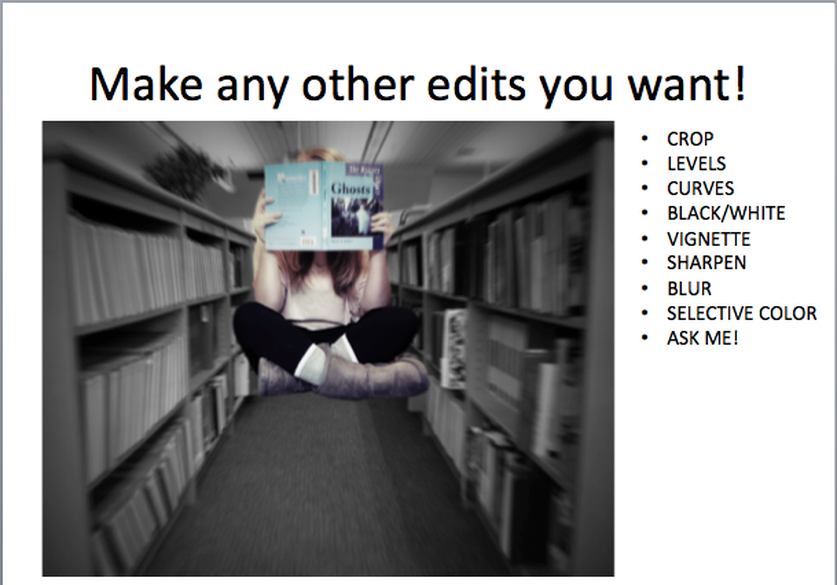
8. Make any additional edits you like!
save your image as "yOURNAMELEVITATION1"
SAVE AS A .PSD AND AS A .JPEG
SEE SCHOOLOGY FOR UPLOAD INSTRUCTIONS!
old photoshop Instructions:
open up both photos (background photo and model photo) in photoshop.
compare and adjust photos so that they have the same brightness
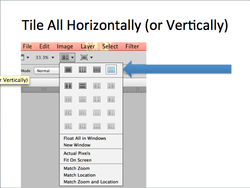
- Find the "Arrange Documents" icon located in the Application Bar at the top of your screen.
- Click on it and choose "Tile All Horizontally" or "Tile All Vertically"
- This should allow you to see both images simultaneously.
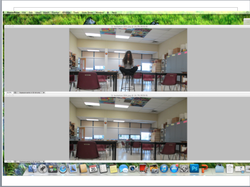
- With both images on your screen, compare them to make sure they have the same brightness/exposure/contrast/color.
- If they are different, add an adjustment layer to on of your images to make them more similar.
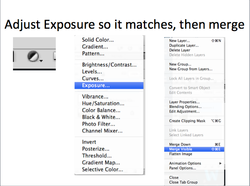
- For example, if one photo is slightly darker, you could add an "exposure" adjustment layer to lighten it slightly, until it matches the other.
- Other adjustment layers you might try: brightness/contrast, curves, levels, hue/saturation....
- When you are happy with the results, go to your layers menu and merge the adjustment layer with your image layer (merge visible).
Send your model photo over to your background document
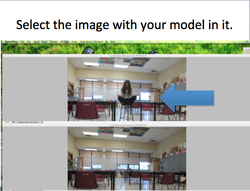
- Right now we have two separate documents open, we want to combine them into one document as separate layers.
- Select the image with your model in it by clicking in that window.
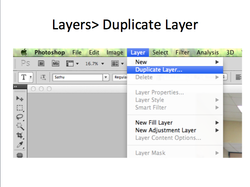
- Go to Layer at the top, and select "Duplicate Layer"
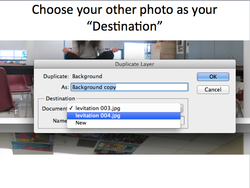
- In first box, you may wish to rename the layer "model" or whatever you like.
- Under "Destination" find the drop down box next to "Document".
- In that drop down box, select the file name of your background image.
- This will place the model image in your background image, as a separate layer.
Align layers
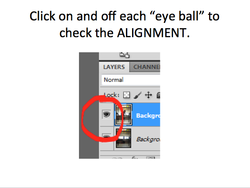
- In your document with the background layer and model layer, make sure that your 2 layers are properly aligned.
- Turn the visibility on and off of the top layer a few times to check and see if the image "moves" a bit each time- this would mean they are not properly aligned.
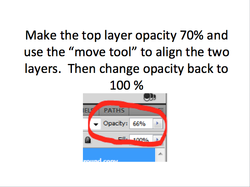
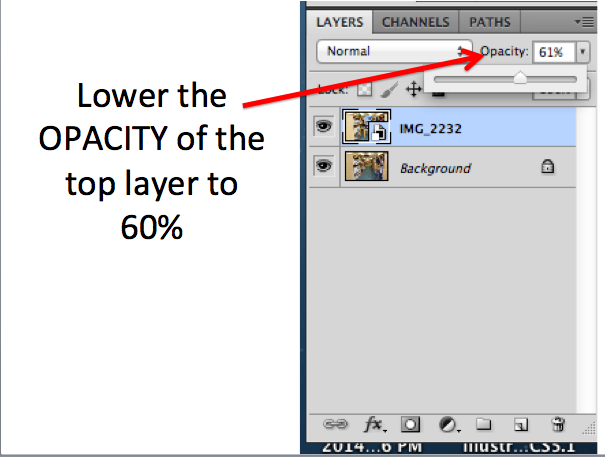
- To align them, turn the opacity down a bit on your top layer (around 60-70% or so) so that you can see both layers.
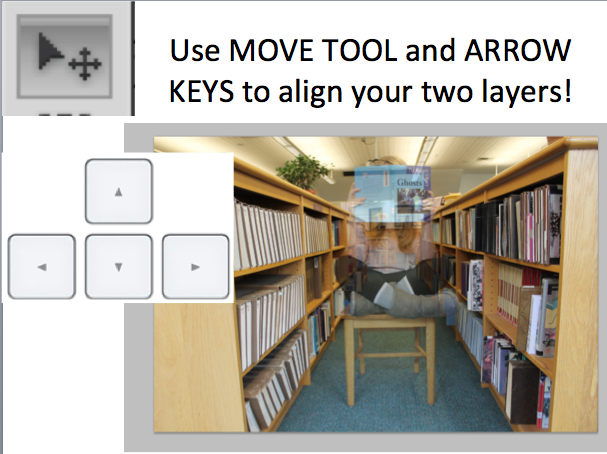
- Use the move tool to move the top layer around until it is directly above the bottom layer.
- For smaller, more precise movement, use the arrow keys on your keyboard.
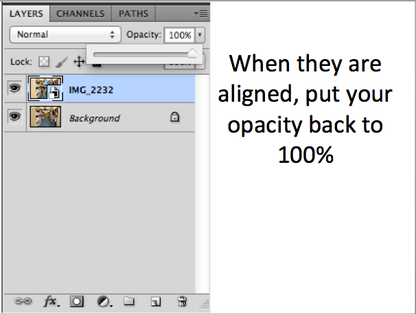
- When they are properly aligned, turn the opacity back to 100% on the top layer.
Mask out your prop
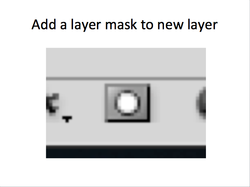
- Make sure your top layer (layer with the model) is selected (highlighted in blue)
- At the bottom of the layers panel, click the Add layer mask button.
- You should see a white box appear next to the thumbnail image for that layer. This represents the layer mask you just added.
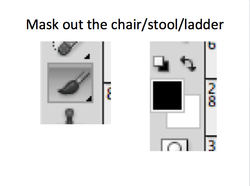
- Now pick up your paint brush.
- Make sure BLACK is selected as your primary color.
- Wherever you paint with black will be "masked out" or hidden from view.
- You will want to mask out the stool/ladder/chair from your model layer to hide it.
- If you make a mistake and need to bring part of your image back, switch your color to white to reverse it. (click the double sided arrow to the top-right of the color swatches to switch from black to white)
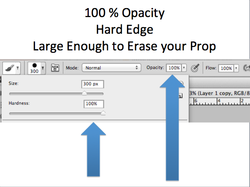
- When erasing away your prop, set your paint brush to 100% opacity and use a hard-edge brush.
- Make the size as big or small as you need it.
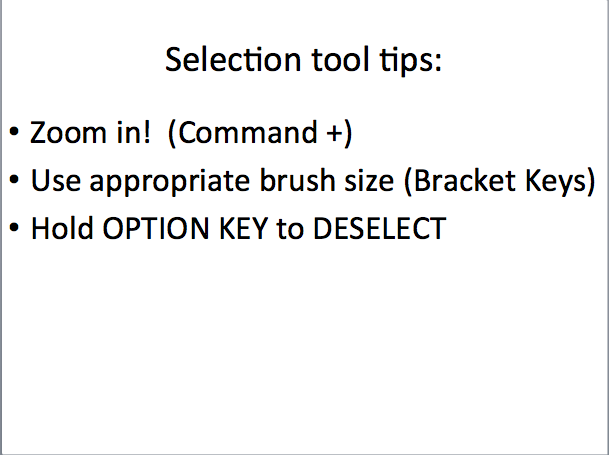
- The left and right bracket keys on your keyboard will change your brush size.
- Use a smaller brush for more detailed areas
- Zoom in closer if you need around tough spots (command + to zoom in, command - to zoom out)
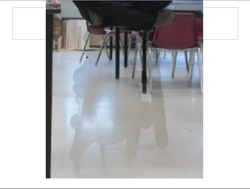
- After you mask out your prop, you may have some lines left over if your images weren't exactly the same brightness.
- In my example, my background image was slightly darker, so where ever I erased turned out darker, leaving ugly lines.
- We will have to get rid of these lines...
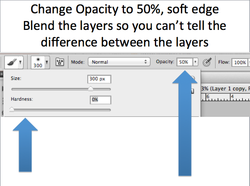
- You could try to subtly blend out your lines so that one layer gradually fades into the next...
- To do this, switch your brush to a lower opacity (say around 50 % or so) and give your brush a soft edge.
- Now paint around where you have visible lines to fade from one layer to the next.
add a shadow for added realism
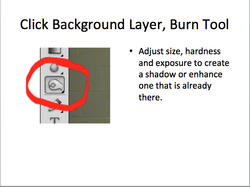
- To make your image look more realistic, try adding a shadow under your model.
- To do this, first select your BACKGROUND layer (click so its highlighted in blue)
- Now pick up your BURN tool (Your burn tool may be "hiding" underneath your dodge tool- which looks like a black lollipop, find this tool, click and hold to expose the other tools beneath it. Your burn tool will look like a hand picking up something)
- Wherever you click with your burn tool will slightly darken that area.
- Use a LARGE brush, with SOFT EDGES and a LOWER OPACITY (around 50%)
- Just click once or twice, you want your shadow to be subtle, too dark will look fake.
- Then make your brush size smaller and click once more in the center of your shadow.
last step: crop!
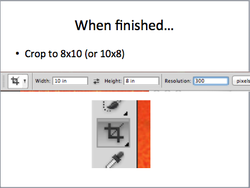
- Crop your final image to 8 x 10 inches (vertical) or 10 x 8 inches (horizontal).
- After you enter your dimensions, click on your image and drag out your crop box.
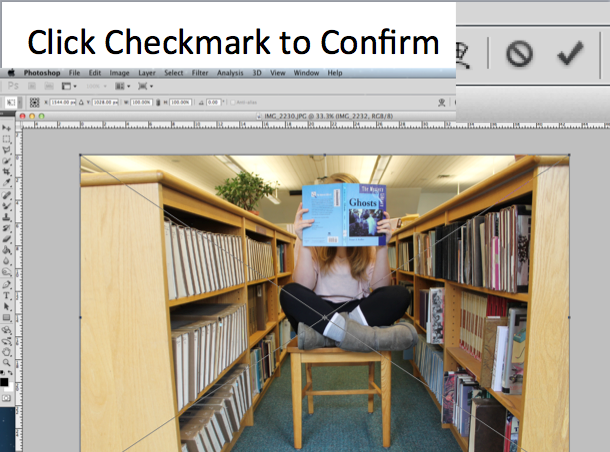
- Hit enter or click the "Commit" check mark to save your crop selection.
other optional edits...
Now you can fine-tune your image so it looks just they way you want! Try the following:
- Add an adjustment layer or two on top of your other two layers to adjust contrast, colors, brightness, etc.
when finished....
- Save as a Photoshop Document (.PSD). Rename it "Levitation" and save it to your Pictures Folder
- Save as a .JPEG. Name it Levitation and save it to your Pictures Folder.
- Make a SECOND levitation photo if your finish early or have extra time.
- Turn-in your BEST levitation photo to EDMODO for a grade. MAKE SURE YOU ONLY UPLOAD THE .JPEG!!!!!!!
