objective: students will create a professional online portfolio.
your assignment:
This will be a major assignment worth 4 project grades. You will create your own professional online portfolio using weebly.com.
You will have to include the following in your website:
You will have to include the following in your website:
- An "About Me" page.
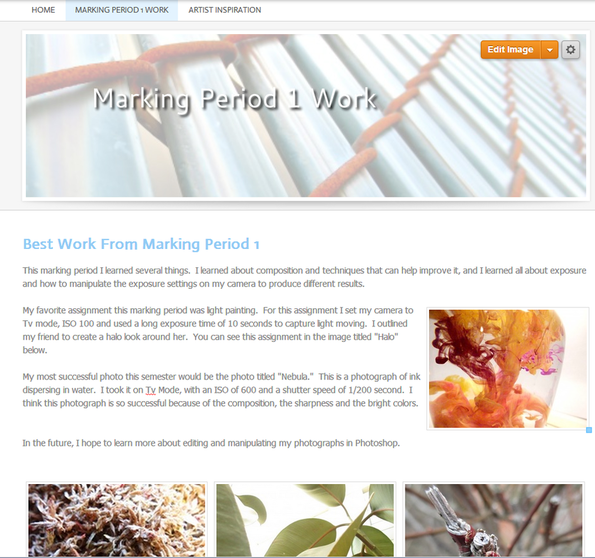
- A "Best Work from Marking Period 1" page.
- An "Artist Inspiration" page- where you will put the results of your artist inspiration project.
Step 1: set up your website
- See teacher for your log-in and password.
- Go to students.weebly.com and log-in.
- Set up your web site, start by choosing a theme.
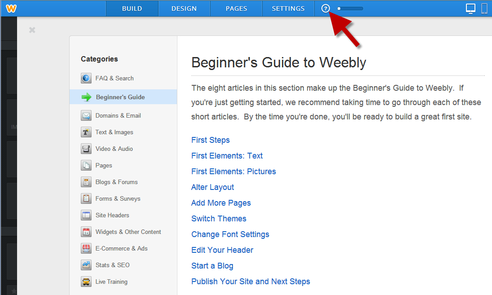
- Go to help>beginnings guide for help with setting up your website, or click the grey button below.
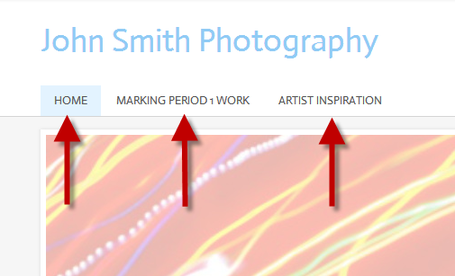
- Make 3 pages for your website: a home page, a "marking period 1 work" page, and an "artist inspiration" page.
- Do this by clicking on the blue "PAGES" tab at the top of your website editing screen.
- Once in pages, click "Add New" and select "standard page." You can then type in the name of your page.
- See "Beginner's Guide- Add More Pages" for help using link above.
step two: set up home page
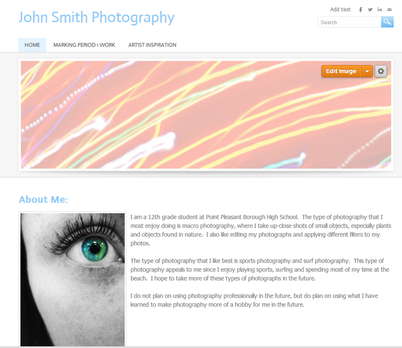
- Click "Edit Image" on your header image. Upload an original photo by you to use as header image. You may edit, crop it, and add an optional title to your header if you wish.
- Drag in a "Title" to your webpage. Title it "About Me."
- Drag in an "Image + Text" to your webpage, below your title.
- Click on the image icon to add a PHOTOGRAPH OF YOU FROM YOUR SELF-PORTRAIT ASSIGNMENT.
- Then, click in the text section to type a short blurb about yourself. In it, include the following information:
- Tell me a little about yourself
- What experience did you have with photography before taking this class?
- What do you hope to get out of this class?
- What type of photographs do you enjoy taking? Or what has been your favorite assignment so far?
- What type of photography do you like best? Or what type of photography would you like to do yourself one day?
step three: marking period 1 work
- Click on the "Marking Period 1 Work" tab at the top to go to that page.
- Click "Edit Image" on your header image. Upload an original photo by you to use as the header image. It can be the same one used for your home page or a different one. You may edit, crop and add an optional title to your header if you wish.
- Drag in a "Title" to your webpage. Title it "Best Work From Marking Period 1."
- Drag in an "Image + Text" to your webpage.
- Click on the image icon to insert a photo. Insert your BEST photo from the entire marking period.
- In this text box type a four paragraph written statement. In it, include the following information:
- Paragraph 1: What did you learn so far this marking period?
- Paragraph 2: What has been your favorite assignment so far? Why? Tell me a little bit about the photo you took for that assignment.
- Paragraph 3: In your opinion, what is your most successful photo you have taken this marking period? What assignment was it taken for? Describe it. What makes it successful? (this is the photo that should be included with the text)
- Paragraph 4: What do you hope to learn in the future in Digital Photo?
8. Once all of your photographs have been added, click on the small "speech bubble" icon in the top right hand corner of each photograph to add a CAPTION to each photograph. In the caption, but the TITLE OF THE WORK in quotation marks (come up with a title for each) and say what assignment it was taken for. Repeat until you have titled all 15 works.
step four: artist inspiration
- Click on the "Artist Inspiration" tab at the top to take you to your artist inspiration web page.
- Click "Edit Image" on your header image and change the photo to a photo you have taken or a photo by your chosen famous photographer. Edit, crop and add optional text to your header if you wish.
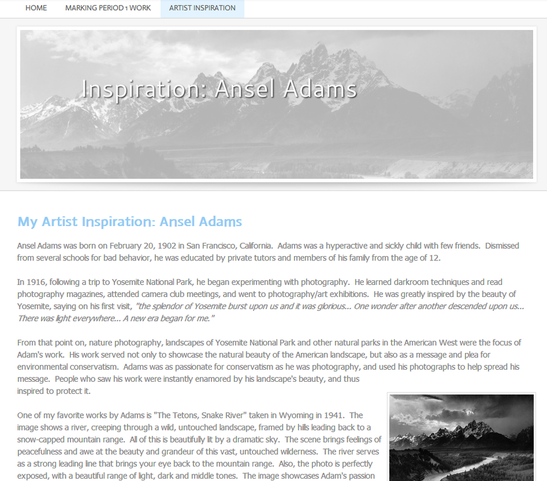
- Drag a "Title" onto your webpage. Title it "My Artist Inspiration: (artist name)."
- Drag an "Image + Text" onto your webpage. Click on the image icon to upload a photo by your photographer that you will later critique.
- In the text area, write a 4 to 5 paragraph biography on your chosen photographer. Include the following information:
- Paragraph 1: Artist background, early life, education, etc.
- Paragraph 2: Major influences and interests. Style and subject matter found in their work.
- Paragraph 3: Choose 1 photograph by your artist to critique. Give the photographs title and date, describe it, interpret its meaning, and explain why or why not you like it. (This photograph should be included in your text)
- Paragraph 4: Give your own opinions and insights into your artist's life and tell us why that photographer is important and what impact they have had on history, art or photography.
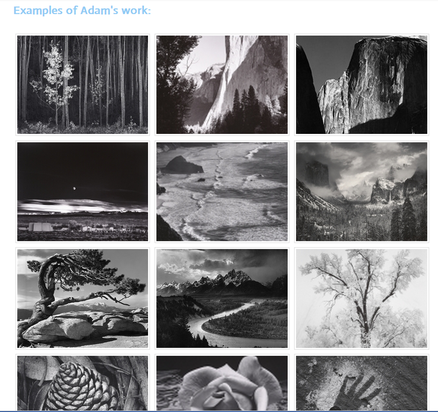
- Below your artist biography, drag in another "Title". Title it "Examples of (artist's name)'s Work."
- Drag in a "Gallery" below title.
- Click Gallery Icon to upload images from your computer.
- Insert 12 photographs taken by your photographer. Must be 12! No less!
- Click on the "Speech Bubble" icon on the top right of each image to add a CAPTION. In the caption box, write the TITLE OF THE WORK in quotation marks, and the year it was photographed.
- Repeat this until ALL 12 PHOTOS have titles and dates.
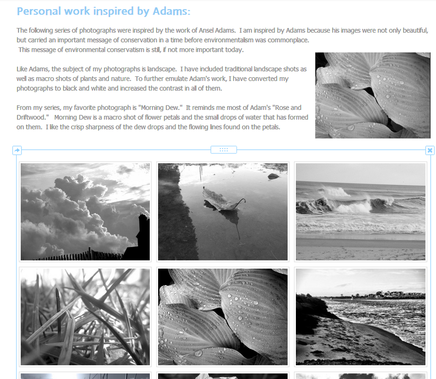
- Drag another "Title" onto your webpage, below your artist gallery. Title it "Personal Work Inspired by (artist's name)"
- Drag an "Image + Text" onto your webpage under your title.
- Click the image icon to upload an image. Insert your FAVORITE photo taken in the style of your selected artist.
- In the text section, write a 3 paragraph statement. include the following information:
- Paragraph 1: Why did you choose that artist? What about that photographer inspires you?
- Paragraph 2: What is the subject matter of your photographs? How do they relate to your famous photographer's work? What specifically did you do to try to emulate their style?
- Paragraph 3: Which photo is your favorite or most successful photograph? What is it of? How did you take it? Why do you like it?
6. Click the image icon to insert your photos. Insert 12 photographs you took in the style of your chosen photographer.
7. Click the "Speech Bubble" icon at the top-right corner of each image to add a TITLE to each of your photographs.
- Finally, at the bottom of the page, drag in another "Title." Title it "Resources."
- Drag in a "Text" underneath your title. In it, list ALL of the resources you used for your artist inspiration project. This should include any sites used to gather biographic information and sites where you got the 12 photographs from. Just write the title of the site and the web address.
to see an example of what your finished online portfolio should look like, click this link:
If asked to enter a password to gain access... enter "panthers"
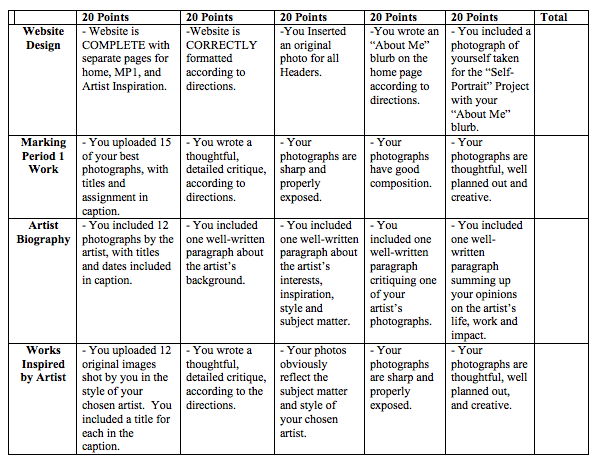
assessment
Your finished website will be worth 400 Points. Points are broken down as follows:
- Website Design- 100 points
- Marking Period 1 Work and Critique- 100 points
- Famous Artist Biography and Photos- 100 points
- Photographs inspired by famous artist and critique- 100 points
Each of the four sections will be graded based on 5 criteria- worth 20 points each. See rubric below for details.