objective: students will create a mini planet in photoshop.
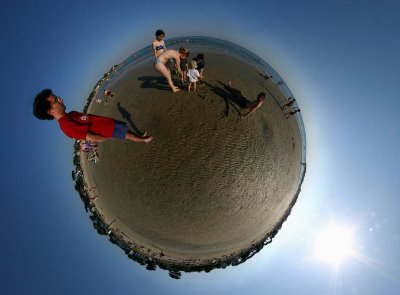
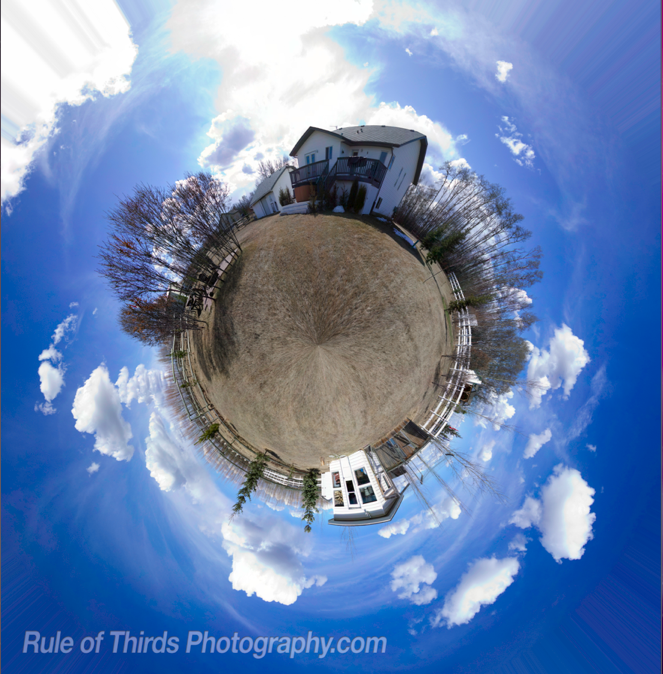
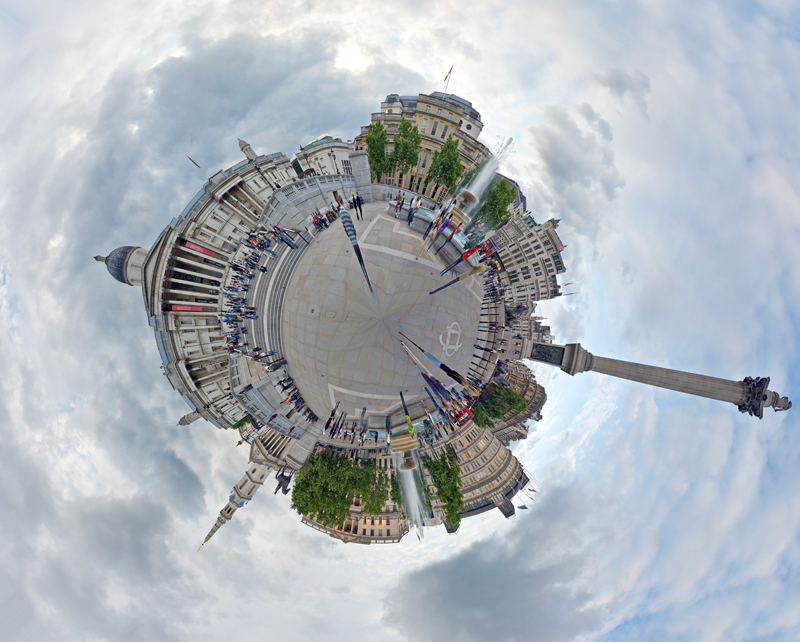
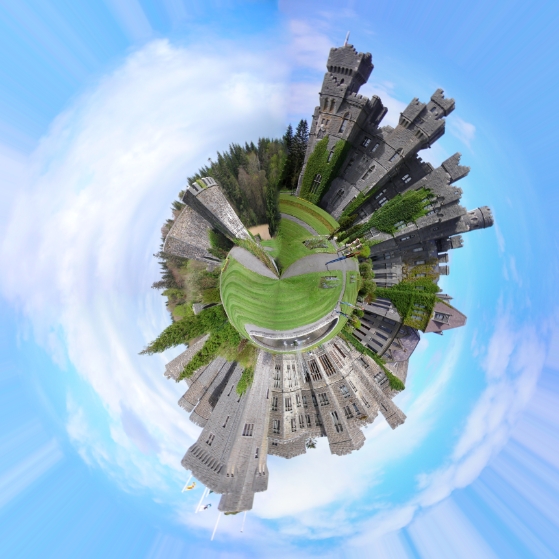
examples...
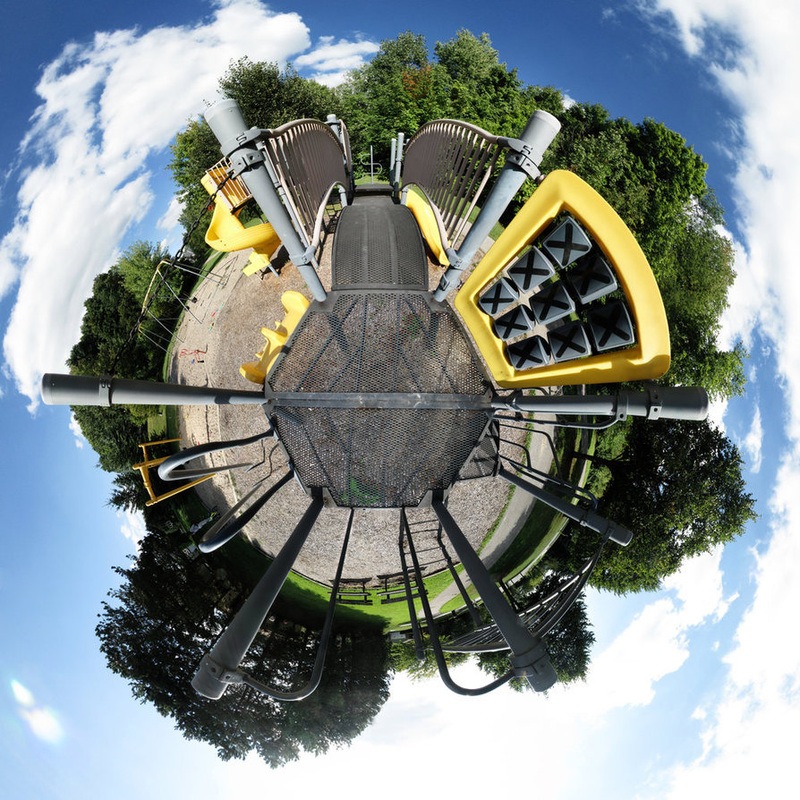


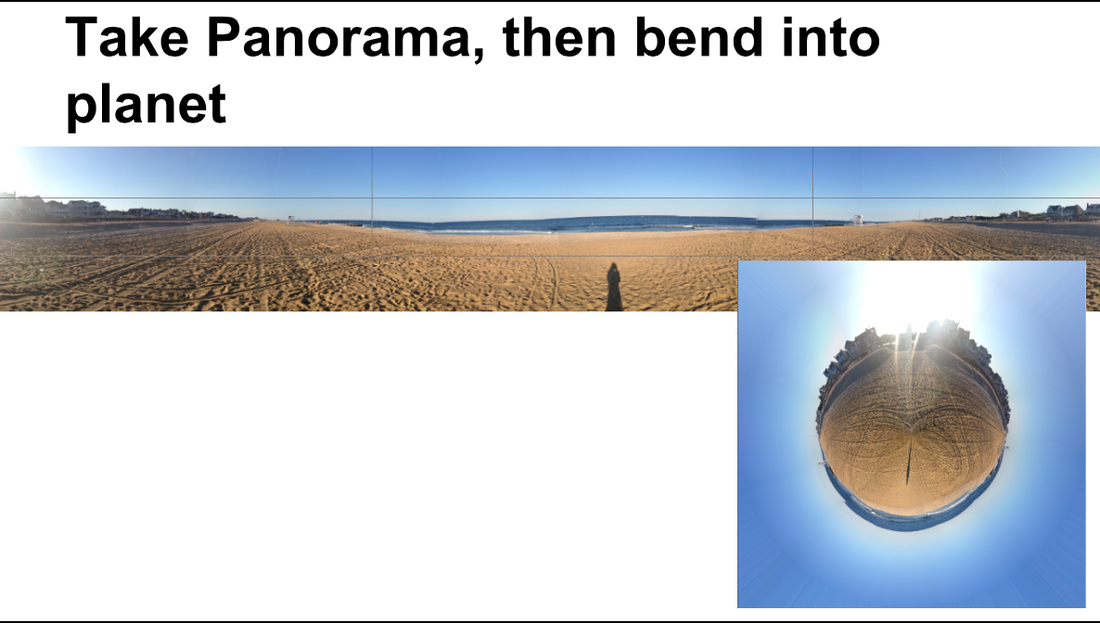
How it works...
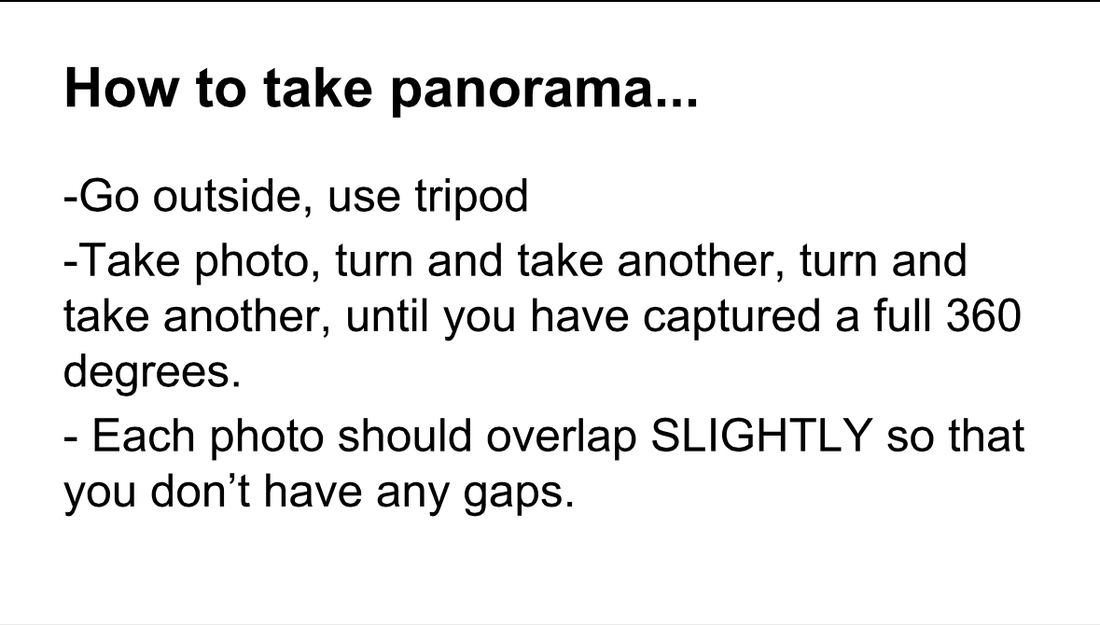
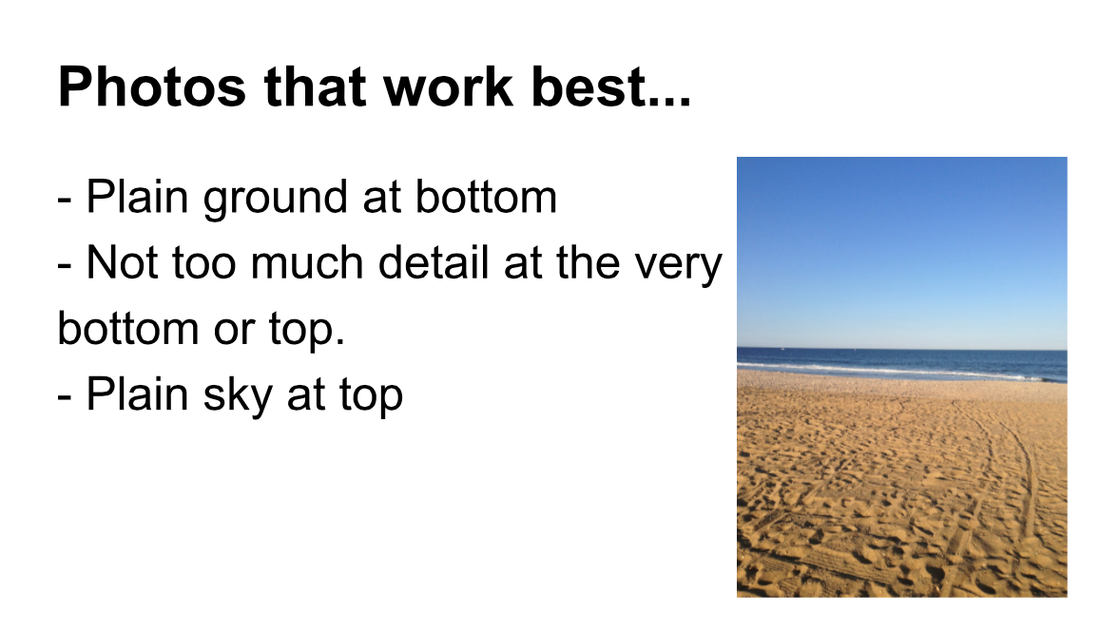
shooting instructions...
editing in photoshop....
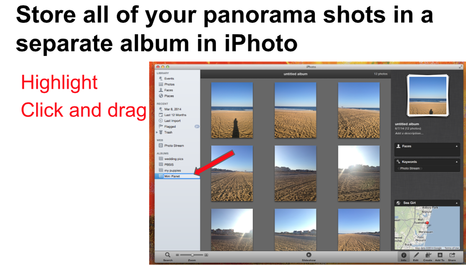
First, store all of your photos in a separate album in iPhoto.
You can do this by highlighting all of your panorama shots, then dragging and dropping into the blank gray space on the left-hand side of iPhoto under "albums."
A new album will automatically be created with the photos you dragged and dropped.
Rename this album "Mini Planet"
You can do this by highlighting all of your panorama shots, then dragging and dropping into the blank gray space on the left-hand side of iPhoto under "albums."
A new album will automatically be created with the photos you dragged and dropped.
Rename this album "Mini Planet"
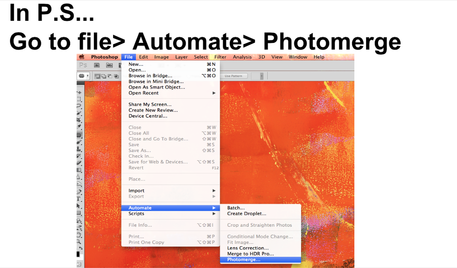
In Photoshop...
Go to File > Automate > Photomerge...
Go to File > Automate > Photomerge...
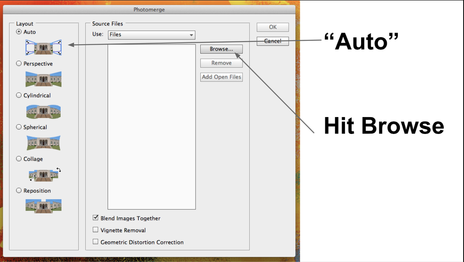
On the left-hand side, make sure "Auto" is selected.
Click "Browse..."
Click "Browse..."
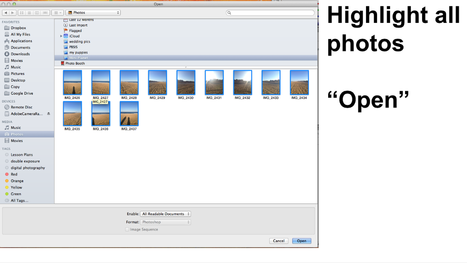
Look under "Media" and "Photos" to find your iPhoto library.
At the top, scroll to find your album.
Highlight all of your photos and then click Open.
At the top, scroll to find your album.
Highlight all of your photos and then click Open.
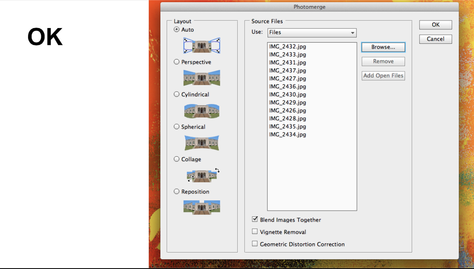
All of your files should be showing in the list.
Once you have all your files select, hit OK.
Once you have all your files select, hit OK.
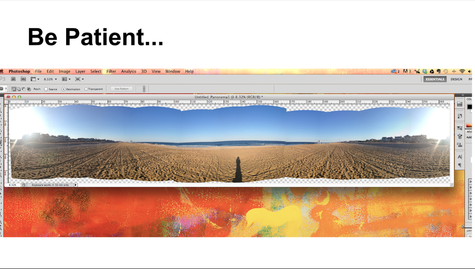
Photoshop will now take a few minutes to combine your photos into a panorama. Depending on how many photos you have, this could take a few minutes, so be patient.
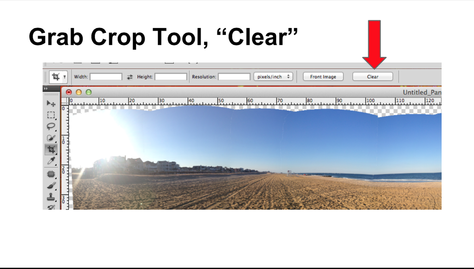
Grab your crop tool.
In the options bar, click the "Clear" button.
In the options bar, click the "Clear" button.
Now click and drag out a crop box on your photograph.
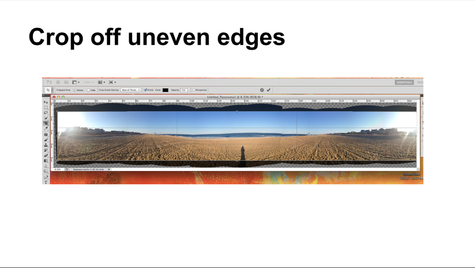
You only need to crop off the uneven eyes at the top and bottom of your image.
Click the check mark to confirm when complete.
You only need to crop off the uneven eyes at the top and bottom of your image.
Click the check mark to confirm when complete.
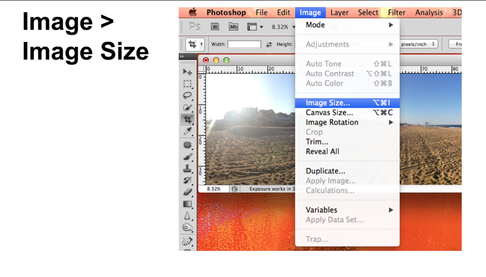
Go to "Image" in your menu bar, and then "Image Size"
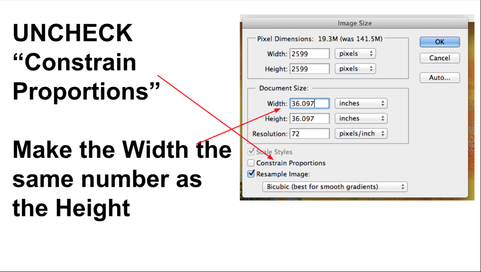
At the bottom of the box, make sure "Constrain Proportions" is UNCHECKED.
Notice what the height of your image is. Enter in that value for your new width. (For example: the height of my document was 36.097 inches, so I entered in 36.097 for the WIDTH)
CLICK OK
Notice what the height of your image is. Enter in that value for your new width. (For example: the height of my document was 36.097 inches, so I entered in 36.097 for the WIDTH)
CLICK OK
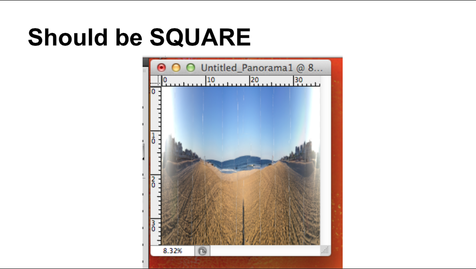
This should have made your image SQUARE.
It will be very "squooshed" looking. This is OK.
It will be very "squooshed" looking. This is OK.
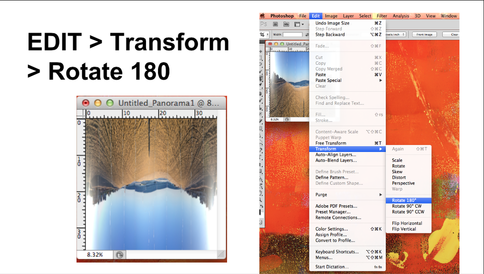
Now we are going to flip our image upside down. To do this...
Go to Edit in your menu bar. Scroll down to "transform" and then "Rotate 180"
You image should now be upside down.
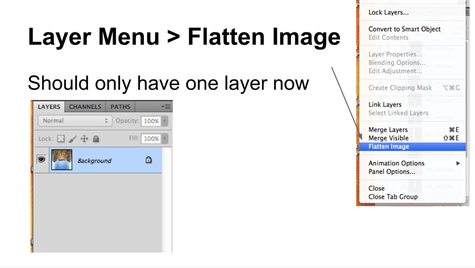
Before we can do the next step, we will need to flatten our image into a single layer. To do this...
Click on your layer menu (icon in the top-right-hand corner of your layers panel)
Select "Flatten Image"
Now you should have a single "Background" layer.
Click on your layer menu (icon in the top-right-hand corner of your layers panel)
Select "Flatten Image"
Now you should have a single "Background" layer.
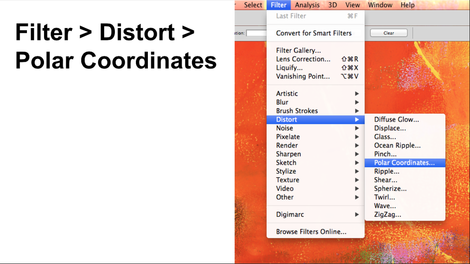
Go to Filter in your menu bar. Scroll down to "Distort" and select "Polar Coordinates..."
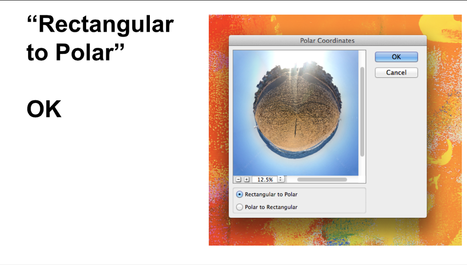
Make sure "Rectangular to Polar" is selected at the bottom.
Click OK
Click OK
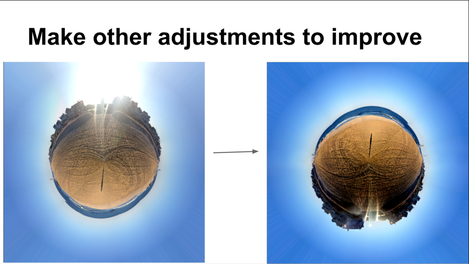
Now make any other adjustments you like to improve your image.
Some suggestions...
Rotate your planet. (Edit>Trasform)
Add a levels, curves, or color balance adjustment layer.
Add a sharpen filter.
Some suggestions...
Rotate your planet. (Edit>Trasform)
Add a levels, curves, or color balance adjustment layer.
Add a sharpen filter.
