What is schoology?
Schoology is a social network for K-12 schools and higher education institutions focused on collaboration, that allows users to create, manage, and share academic content.
We will be using Schoology on a daily basis in Digital Photography. This is where you will turn-in assignments, share your work with your classmates and discuss and respond to class content.
Schoology is an easy way for you to organize your work and assignments. You will receive instant notifications when projects have been assigned, when they are late, and when they have been graded. You can track your grades easily with Schoology and get instant feedback from your teacher.
You can also use Schoology's "Resources" section as a cloud storage device to easily manage and access your files from school, at home, or anywhere in between.
The best part of Schoology is that it is fully mobile. You will be able to submit assignments from your computer, laptop, phone or tablet.
Step 1: sign up
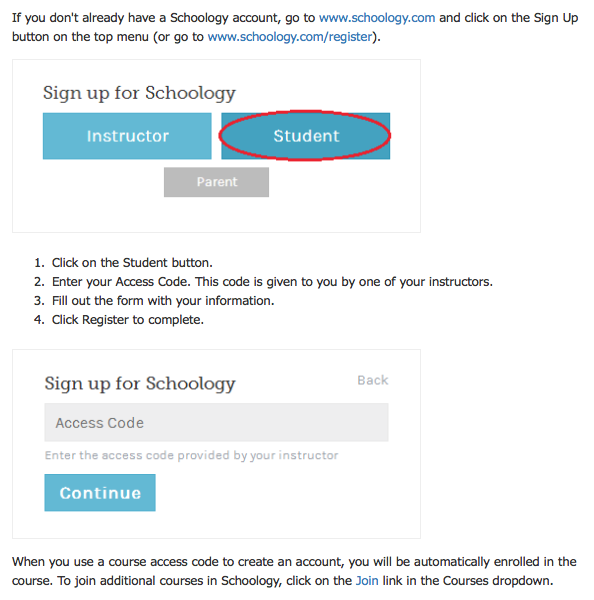
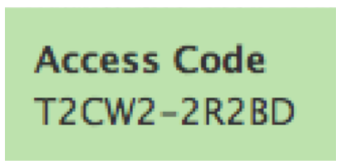
access code:
all set up? Great! here is your assignment to complete...
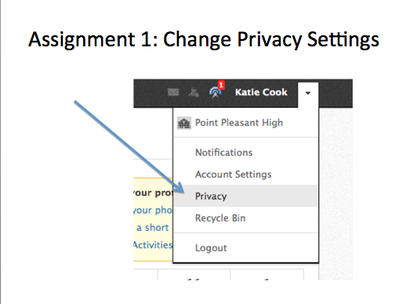
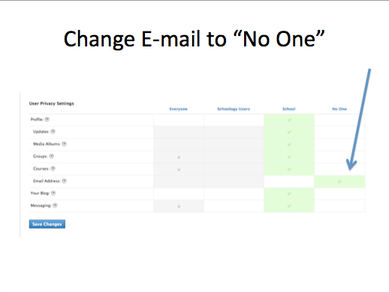
Step 1: Change privacy settings
First access your privacy settings by clicking on the "Down Arrow" next to your name in the top-right-hand corner of the page. Click on privacy.
Once in your privacy settings, look for where it says "e-mail." Change settings to "No one."
Once in your privacy settings, look for where it says "e-mail." Change settings to "No one."
|
|
step 2: Turn-in one of your homework photos
For homework, you should have brought in 5 digital photos to share. Pick your one favorite photo to share on schoology.com.
To turn-in your photo, go to your home screen and look to the top-right hand corner, under "Upcoming." Find the assignment named "First Homework Assignment" and click on it.
This will take you to the assignment page. At the top, read over the directions. Underneath that, you will be able to see the rubric I use to grade your photos. At the very bottom there is a small text box, this is where you can type your response and attach your photo file.
In the text box, write your "critique" or description of your photograph. I would like you to explain where and when you took the photo, what/who it is of, and what you like about it.
After typing your critique, click on the upload file button to upload your photo.
(NOTE: if your photo is only currently stored on your Google Drive, you will first have to download it from Google Drive to your computer)
1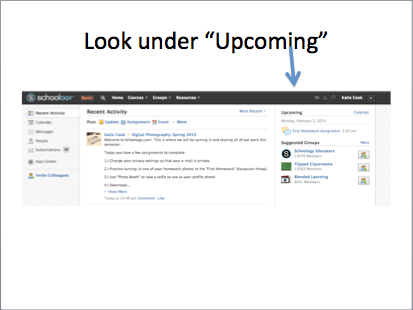
3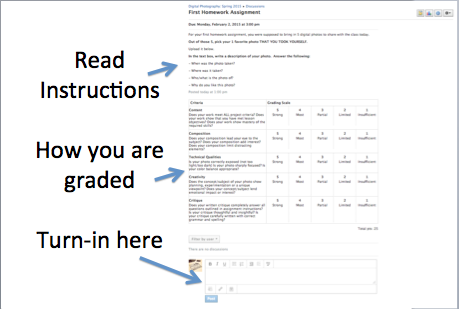
|
2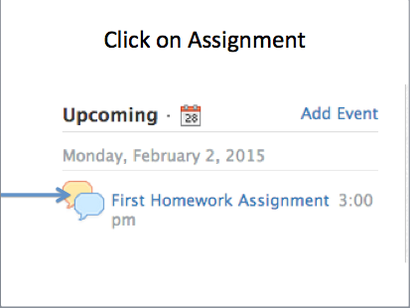
4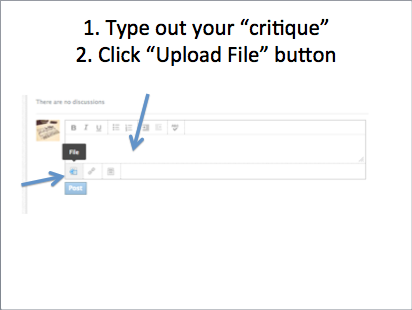
|
step 3: create and upload a profile pic
Add a photo of yourself to use as your profile picture.
- Take a "selfie" using the PhotoBooth App at the bottom of your desktop.
- Take a photo. Drag it from the "filmstrip" at the bottom to your desktop, so you can find it quickly later.
- Go to www.picmonkey.com. Click "edit" and then choose a photo from your computer. Your photo should be saved to your desktop. Edit your photo by cropping, adding filters, re touching, etc. When you are finished. Save your photo to your computer. Change the file name to "Profile Pic" and save it to your "Pictures" folder.
- In Schoology, click on your name in the top-right hand corner to access your profile page. Then click in the top-right corner of your profile photo to add a photo. Finally, click "Attach Files" to search for and find your photo. It should be in your Pictures folder.
1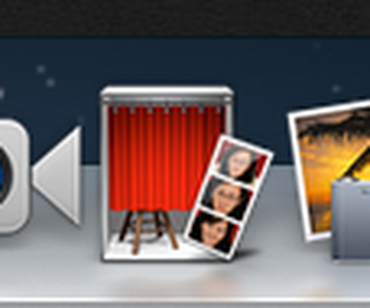
3
5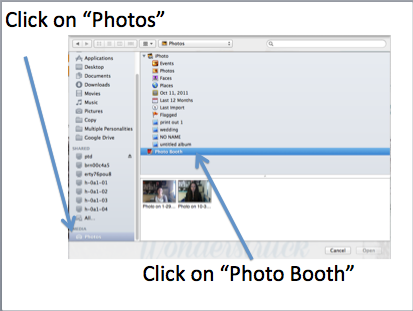
7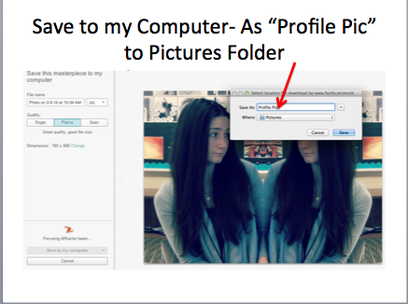
|
2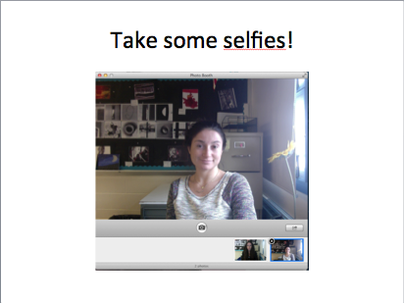
4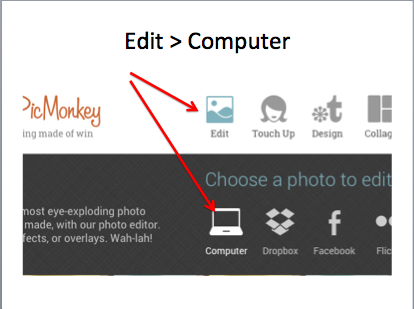
6
8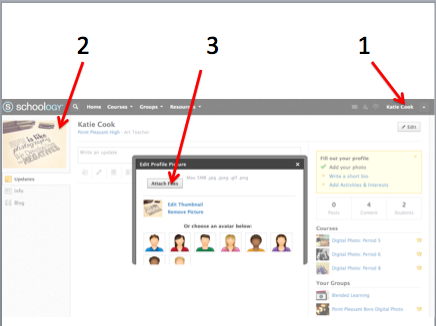
|
step 4: download the schoology app to your phone (if possible)
Schoology has a free app that can be used on smart phones and tablets. Having it will allow you to submit homework assignments easily and quickly directly from your phone. If you have a device capable of downloading apps, I highly recommend you use it. If not, no worries.
When you finish your pre-test, look for and download the Schoology app on your phone.
When you finish your pre-test, look for and download the Schoology app on your phone.