Objective: Students will understand what bokeh is and how to create good bokeh in their photographs
What is "Bokeh"?

The word "bokeh" comes from the Japanese word for "blur."
Bokeh is the quality of out-of-focus or “blurry” parts of the image rendered by a camera lens – it is NOT the blur itself or the amount of blur in the foreground or the background of a subject.
The blur that you are so used to seeing in photography that separates a subject from the background is the result of shallow “depth of field” and is generally simply called “background blur”.
The quality and feel of the background/foreground blur and reflected points of light, however, is what photographers call Bokeh.
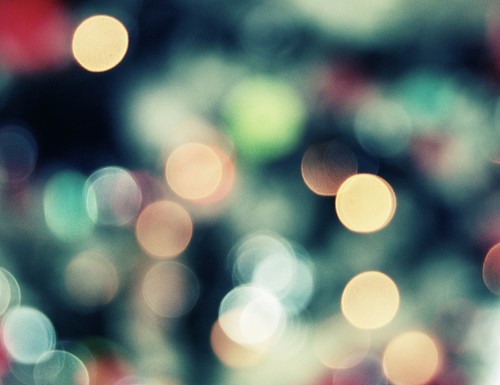
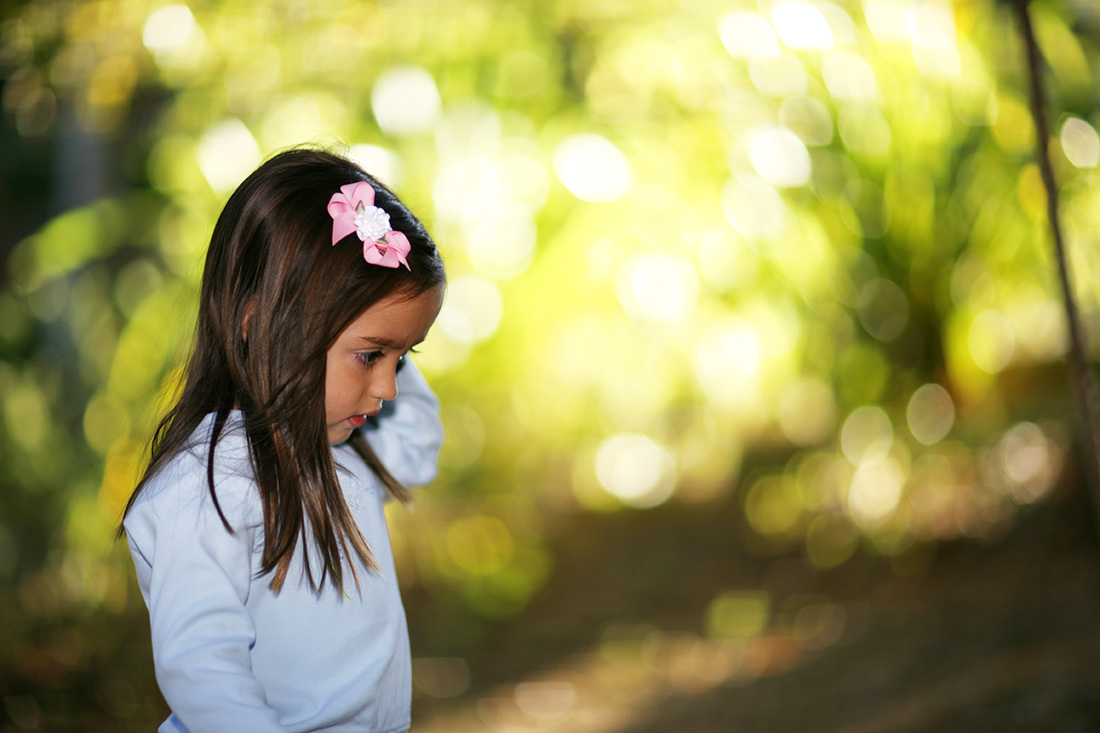
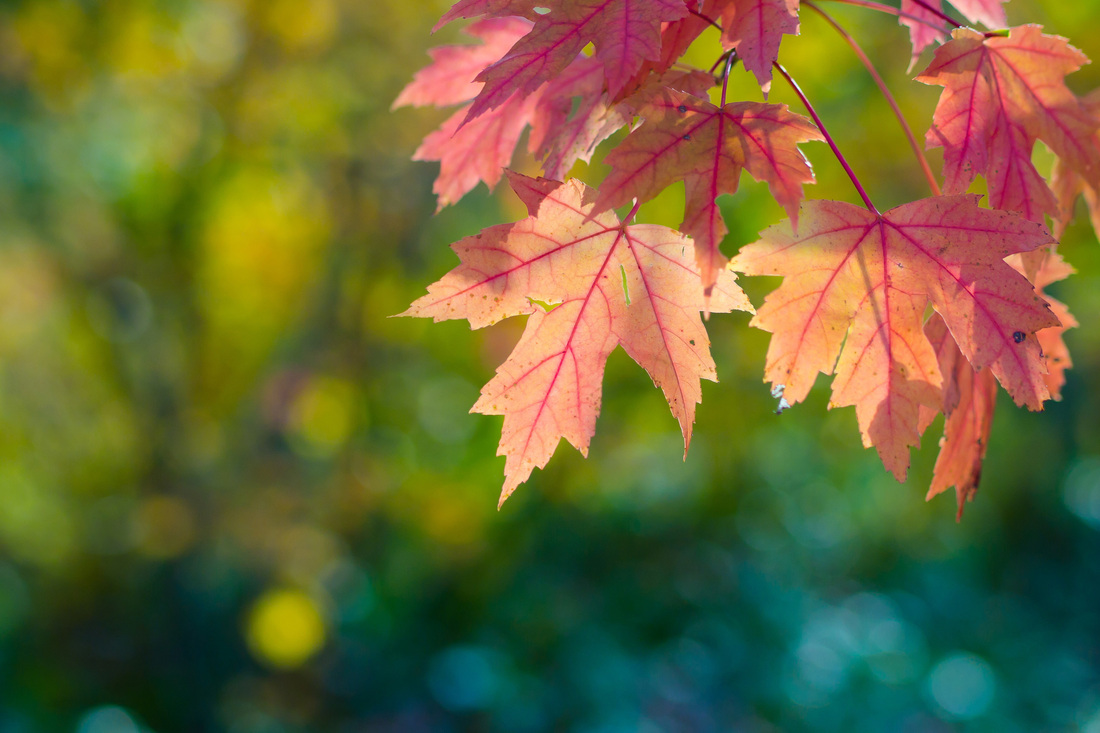
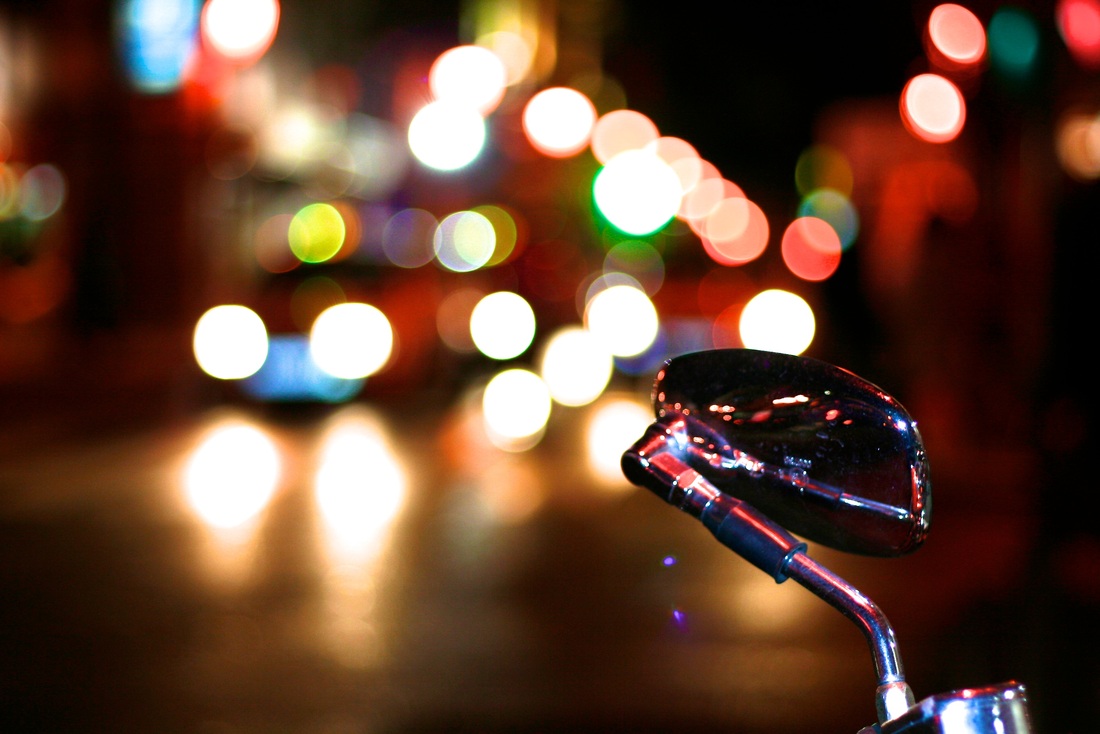
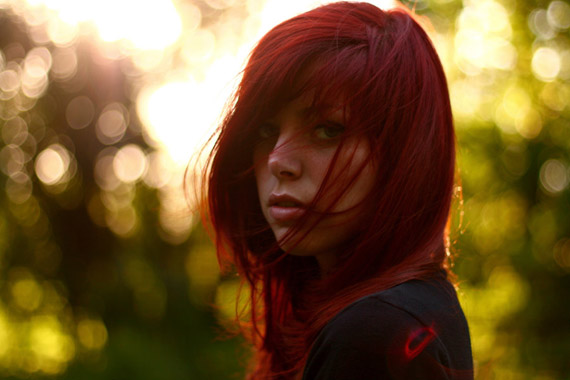
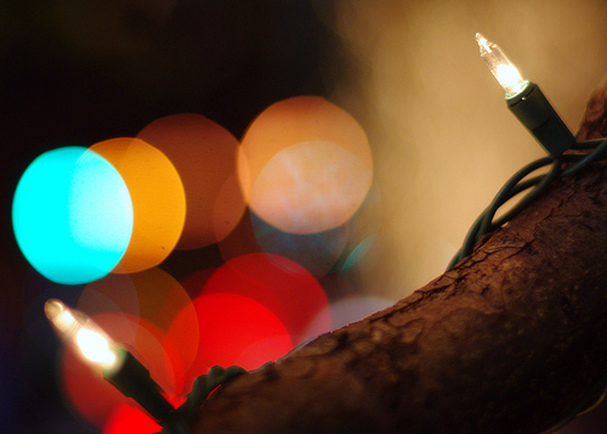
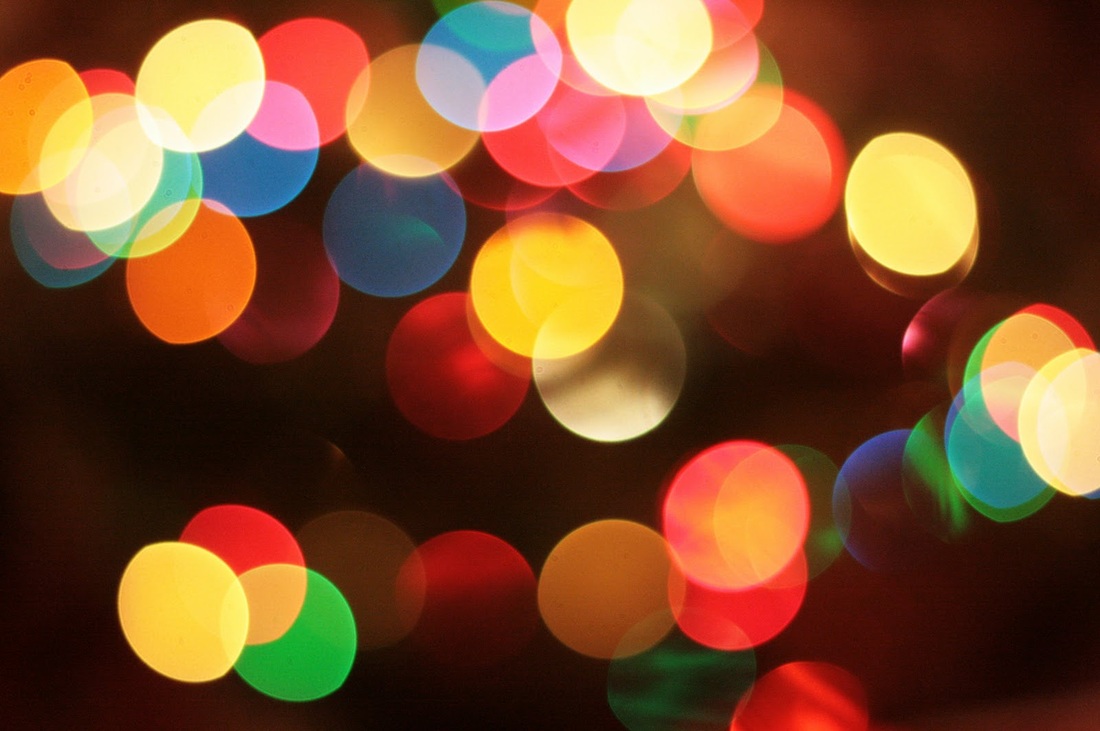
EXAMPLES OF BOKEH...

Your assignment:
Shoot a series of photographs with good "bokeh" using Christmas lights. Try shooting just the lights, as well as incorporating a clear subject in the foreground.
shooting Instructions
Take a photograph of Christmas lights. You want the lights to be blurred out to create nice, soft, bokeh shapes- so we will need to create a SHALLOW DEPTH OF FIELD...
- Use the lowest f-stop possible (Use Av mode)
- Use a longer focal length (zoom-in)
- Place your camera far away from the Christmas lights
- Use MANUAL focus to blur the lights as much as possible
WHAT TO SHOOT...
1. JUST BOKEH
|
2. CLEAR SUBJECT IN FOREGROUND, BOKEH IN BACKGROUND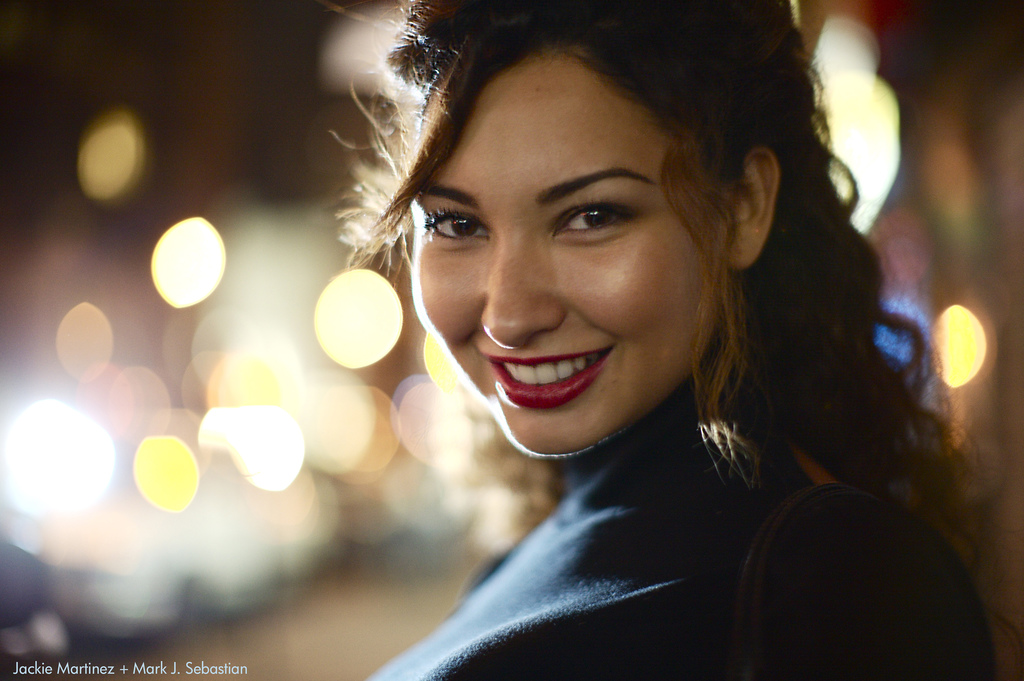
|
adding bokeh to a portrait in photoshop...
What you will do...
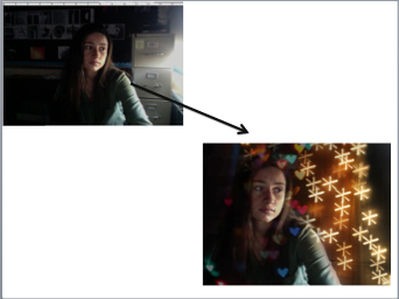
You will take a portrait shot and combine it with a couple bokeh shots that we took yesterday.
The affect will work best if the portrait you took has similar lighting to the bokeh shots- dark. A photo of you brightly lit outside will not look natural mixed with a dark bokeh shot.
Pick out a portrait to use and 2 different bokeh shots.
The affect will work best if the portrait you took has similar lighting to the bokeh shots- dark. A photo of you brightly lit outside will not look natural mixed with a dark bokeh shot.
Pick out a portrait to use and 2 different bokeh shots.
instructions:
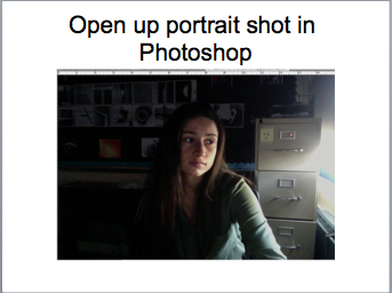
File > Open.
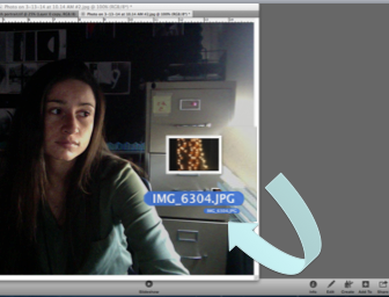
Now you are going to place a bokeh shot right on top of your portrait.
A quick way to do is this to have iPhoto open on your desktop in the background and then to click, drag and drop the thumbnail of the image onto your document window in Photoshop.
Another way you could do this is go to File > Place and then choose your file.
A quick way to do is this to have iPhoto open on your desktop in the background and then to click, drag and drop the thumbnail of the image onto your document window in Photoshop.
Another way you could do this is go to File > Place and then choose your file.
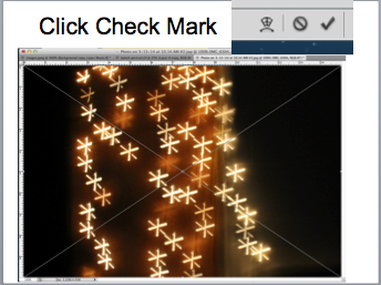
Once the photo is placed, you may choose to move it around or resize it.
When you are done, click the check mark in the options bar to commit to the placement.
When you are done, click the check mark in the options bar to commit to the placement.
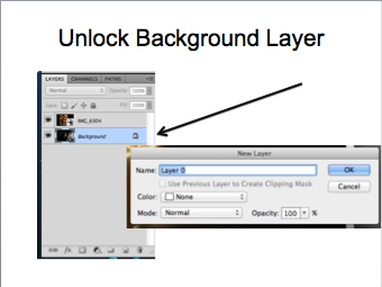
Unlock the BACKGROUND layer by double clicking the padlock symbol.
Then click OK.
Then click OK.
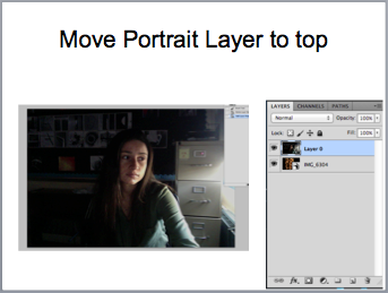
Click on your portrait layer and drag it to the top of the layer panel so that it is on top.
Your bokeh shot should no longer be visible.
Your bokeh shot should no longer be visible.
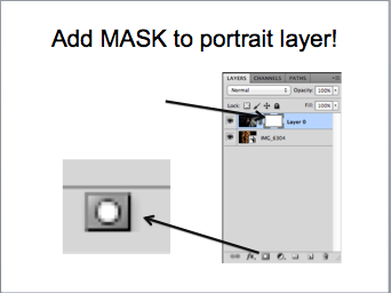
Making sure your portrait layer is selected, click the ADD LAYER MASK button at the bottom of the layers panel to add a mask.
You should see a white box appear next to that layer's thumbnail image.
You should see a white box appear next to that layer's thumbnail image.
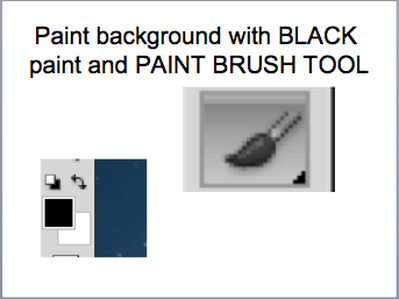
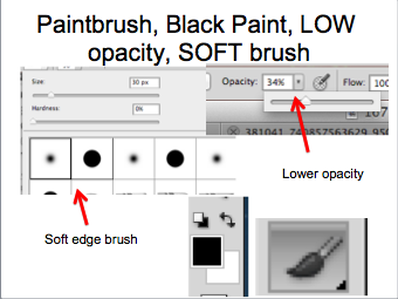
Now pick up your PAINT BRUSH TOOL.
Make sure you have BLACK PAINT selected in your top (primary) color swatch box.
Make sure you have BLACK PAINT selected in your top (primary) color swatch box.
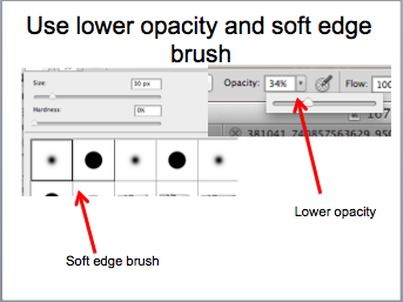
Use a SOFT EDGE BRUSH (0%)
Lower your opacity to 50% or less.
Lower your opacity to 50% or less.
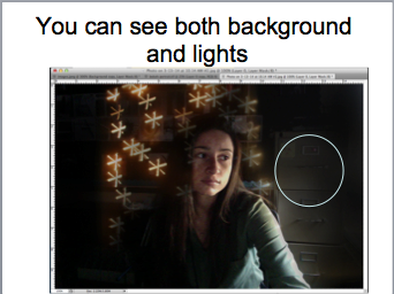
Using a LARGE brush, paint the background to let the bokeh show through.
Since your brush isn't 100% opaque, you should be able to see a little bit of your portrait background and a little bit of bokeh lights at the same time... this will look more realistic.
Since your brush isn't 100% opaque, you should be able to see a little bit of your portrait background and a little bit of bokeh lights at the same time... this will look more realistic.
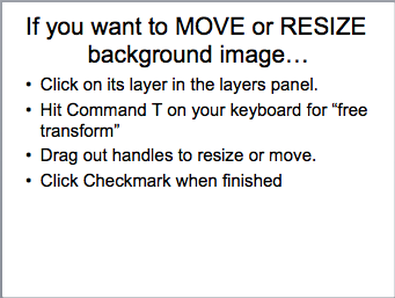
- Now that you can see your bokeh behind your model, try moving or resizing it to create a pleasing composition.
To do this, SELECT your bokeh layer by clicking on it.
Then, hit Command T (free transform) on your keyboard.
A box should appear around that layer with handles in the corners, you can resize, move, rotate and flip your image now.
To do this, SELECT your bokeh layer by clicking on it.
Then, hit Command T (free transform) on your keyboard.
A box should appear around that layer with handles in the corners, you can resize, move, rotate and flip your image now.
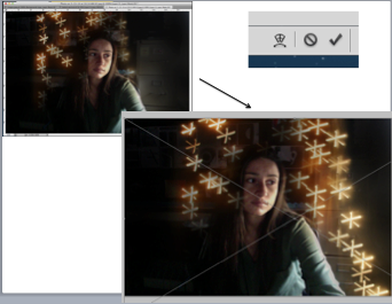
When you are happy with your changes, hit the Check mark button in your options bar to commit the changes.
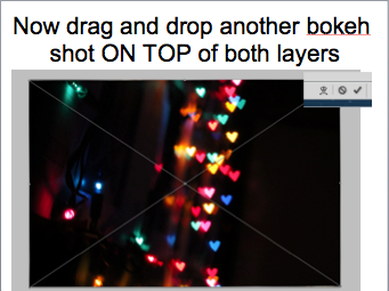
Now lets add a different bokeh photo to your image, this time we will have it on top of your model.
"PLACE" it on top of your image the same way you did before, by dragging and dropping the thumbnail image on top of your document window.
Alternatively, you could also go to File > Place and select your file.
Once you've placed it, click the check mark button in the options bar to commit the placement.
Your new bokeh layer should be ON TOP of your other 2 layers. If it's not, click and drag it to the top of the list.
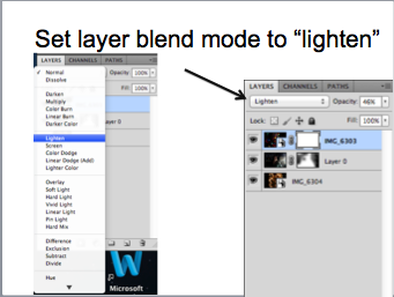
Right now it should be blocking your models face, so let's "blend" it with the image below so we can see your model's face come through.
To do this, find the "Layer Blending Modes" located in a white drop down box in the top-left hand corner of your layers panel (it should say "normal")
Click the box and change the mode from "normal" to "LIGHTEN"
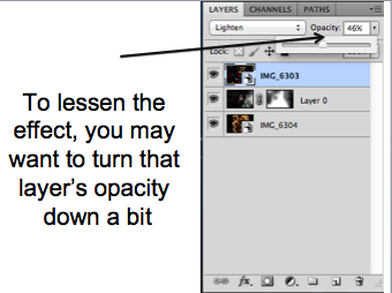
- Now you should be able to see your model coming through behind the bokeh photo.
- The bokeh effect may be too much or too distracting looking. To make it a bit more "see through" and less intense looking, change that layers OPACITY.
- The bokeh effect may be too much or too distracting looking. To make it a bit more "see through" and less intense looking, change that layers OPACITY.
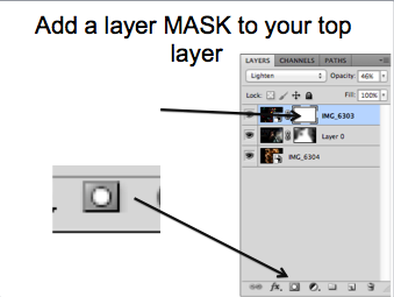
- You may want to remove this bokeh effect entirely from certain areas of the photograph (like directly on top of your subject's face)
- To lighten the bokeh in a particular area, add a LAYER MASK to the top bokeh layer.
- Do this by clicking the ADD LAYER MASK button at the bottom of the layers panel.
- It should show up as a white box next to your layer's thumbnail image.
- To lighten the bokeh in a particular area, add a LAYER MASK to the top bokeh layer.
- Do this by clicking the ADD LAYER MASK button at the bottom of the layers panel.
- It should show up as a white box next to your layer's thumbnail image.
- Now that we have the mask, select it by clicking on it (the white box).
- Grab your PAINT BRUSH TOOL.
- Make sure your primary color is BLACK.
- Make your brush edge SOFT (0%)
- Lower your OPACITY below 50%
- Grab your PAINT BRUSH TOOL.
- Make sure your primary color is BLACK.
- Make your brush edge SOFT (0%)
- Lower your OPACITY below 50%
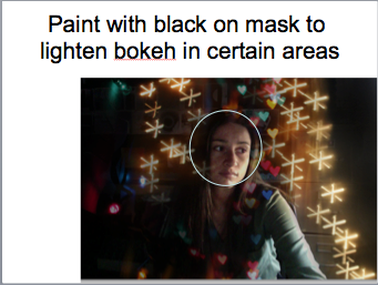
- Now paint on the image where you would like to lighten the bokeh effect.
- This most likely should be around your subject's face so that the lights aren't too distracting.
- This most likely should be around your subject's face so that the lights aren't too distracting.
- Crop your image to 10x8 or 8x10, 300 res.
- Make any other adjustments to color, contrast, saturation, etc.
- Make any other adjustments to color, contrast, saturation, etc.
If you want to apply an adjustment layer to only one specific layer....
The way that adjustment layers work is that they will affect EVERY layer BELOW them. Layers above them they do not affect. So what if you have 2 layers underneath an adjustment layer, but only want the first one affected, and not the bottom one? (for example: if you look at my layers for this project, I have "star" bokeh for my bottom layer, my portrait above that, and heart bokeh on top. If I apply a an adjustment layer above my portrait- it will affect both the portrait AND the star bokeh... but what if I don't want it to affect the star bokeh, but only my portrait? read below... )
- Click on the layer that you would like to adjust (the model? The top bokeh? The bottom bokeh?)
- Now click the "ADD ADJUSTMENT LAYER" button at the bottom of your layers panel (the circle that is half white, half black, like a black&white cookie!)
-The layer adjustment should appear right above that layer.
- Now click the "ADD ADJUSTMENT LAYER" button at the bottom of your layers panel (the circle that is half white, half black, like a black&white cookie!)
-The layer adjustment should appear right above that layer.

- Now, to make sure that this layer ONLY affects the one directly below it, look above to your ADJUSTMENTS PANEL.
- At the bottom of the adjustments panel, click the third button from the left. It looks like a black circle on top of a white circle.
- This will "CLIP" the adjustment layer to the one directly below it, meaning it will only affect that one.
- At the bottom of the adjustments panel, click the third button from the left. It looks like a black circle on top of a white circle.
- This will "CLIP" the adjustment layer to the one directly below it, meaning it will only affect that one.
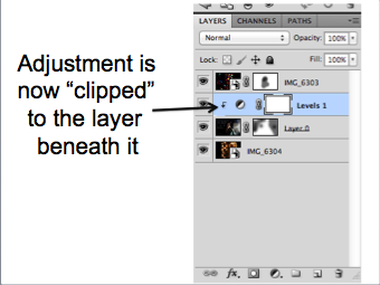
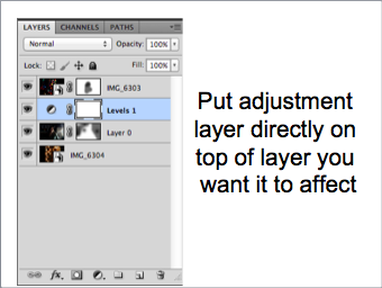
- This is what your layer should now look like in your layers panel.
- The adjustment layer is slightly indented and there is an arrow pointing to the layer beneath it.
- The adjustment layer is slightly indented and there is an arrow pointing to the layer beneath it.
