Objective: Students develop their creative eye while looking for the letters of their name in everyday objects.
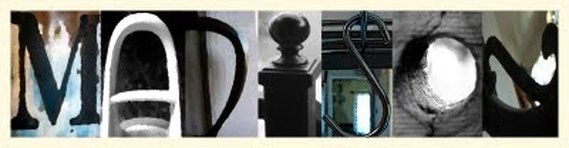
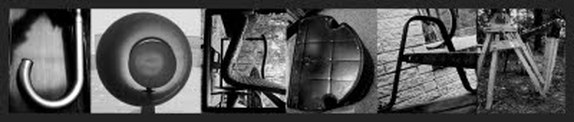
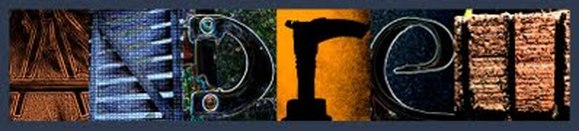
Examples:


assignment:
Try to spell out your name using photographs of everyday objects. Try to find objects that look like each letter in your name, don't take photographs of actual letters (like ones found on signs, keyboards, textbooks, etc.). This trains your "creative eye" to look at the world around you in a different, more creative way. Take several photos for each letter, that way you'll have more options and can choose the best, clearest photograph to use in your final design.
tips:
Need help finding letters?
- look for shadows on the ground
- notice cracks in the sidewalk
- look in the tree branches
- arrange several objects together (sticks, paintbrushes, etc.) to form a letter
- if a certain object doesn't at first look like it could resemble a letter, look at it from a different point of view (from the side, upside down, from above, etc.) and you might see something completely new!
important when "framing" your shots...
Tomorrow we will make some basic edits to our images, including cropping. We will crop all of our images to the same dimensions so all of our letters look "unified" when presented together. When taking your photographs, leave some extra space around your "letter," this way, we will have room to crop the photo tomorrow without chopping part of your letter off!
editing instructions
1- make folder
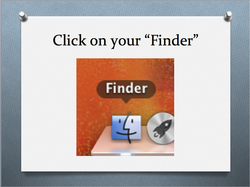
- Click on the "Finder"
- It is in the bottom-left-hand corner of your desktop.
- It is in the bottom-left-hand corner of your desktop.
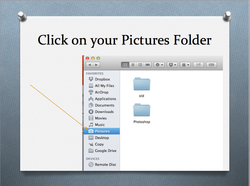
- Open up your pictures folder. Look on the left-hand side for it.
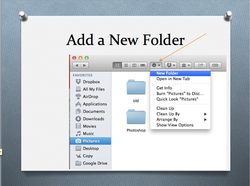
- Once in your Pictures folder, Click on the button that looks like a gear.
- Then select "New Folder" from the drop-down list.
- Then select "New Folder" from the drop-down list.
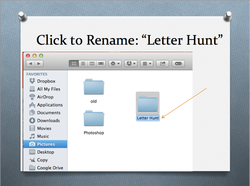
- Click the folder once to select it.
- Then click once on the folder name to rename it. The words should highlight in blue.
- Type in "Letter Hunt" as your new folder name.
- Then click once on the folder name to rename it. The words should highlight in blue.
- Type in "Letter Hunt" as your new folder name.
2- crop & edit in photoshop
-Open up Photoshop.
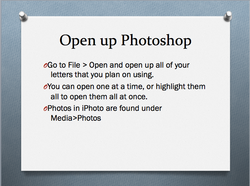
- Go to File>Open
- Look under "Media" > "Photos" to look through the photos you uploaded to your iPhoto Library. Select the letter photos you want to use. You can highlight them to open several up at once, or open one at a time.
- Go to File>Open
- Look under "Media" > "Photos" to look through the photos you uploaded to your iPhoto Library. Select the letter photos you want to use. You can highlight them to open several up at once, or open one at a time.
Does your letter need to be flipped or rotated?
If so...
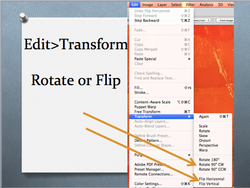
- Go to Edit in your menu bar. Then select "Transform."
- From the "Transform" menu, you may want to select a "rotate" option, or a "flip" option, depending on how your letter is orientated.
- Go to Edit in your menu bar. Then select "Transform."
- From the "Transform" menu, you may want to select a "rotate" option, or a "flip" option, depending on how your letter is orientated.
crop!
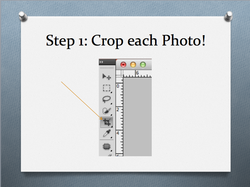
- You will need to crop all photos to the same dimensions.
- Find your crop toll in the tool bar on the left hand side of your screen..
- Find your crop toll in the tool bar on the left hand side of your screen..
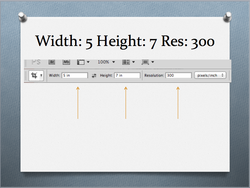
- In your options bar, enter:
Width: 5 inches
Height: 5 inches
Resolution: 300 ppi
Width: 5 inches
Height: 5 inches
Resolution: 300 ppi
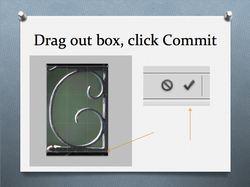
-Click on your image to drag out a crop box. (Anything outside of this box will be deleted.
-When you are happy with the size and location of your crop box, click the Commit button (check mark button in your options bar).
-When you are happy with the size and location of your crop box, click the Commit button (check mark button in your options bar).
edit!
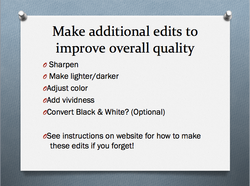
- Now edit your photo in any other way that will improve it.
- Go through the list of basic edits that we did the other day in class:
- You may need to:
- Sharpen it.
- Lighten it or darken it.
- Adjust the colors
- Add vividness
- Convert to black and white.
(Hint: I think converting these photos to black and white helps make the letters stand out more and appear clearer... it is up to you however if you want to leave them in color or covert to black and white.
Forget how to make these edits? Click the link below to revisit the "Basic Edits" page for step-by-step instructions.
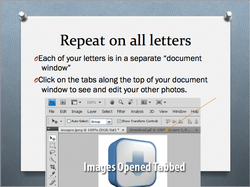
- Once you are happy with the look of your first letter, repeat the above steps on all of your other letters.
- All letters must be cropped to 5x7, 300 res.
- NOTE: your photos are all represented by different "tabs" along the top of your document window. Click the different tabs to switch back and forth between photographs.
- All letters must be cropped to 5x7, 300 res.
- NOTE: your photos are all represented by different "tabs" along the top of your document window. Click the different tabs to switch back and forth between photographs.
Save!
- When you have finished editing all photos, it is time to save them!
- For this particular project, you only have to save a .JPEG version of each photograph.
-File Name: Rename each photograph (for example: Letter M.jpg)
-Where: Save each photo to your PICTURES folder, in your LETTER HUNT folder.
- Format: JPEG
- For this particular project, you only have to save a .JPEG version of each photograph.
-File Name: Rename each photograph (for example: Letter M.jpg)
-Where: Save each photo to your PICTURES folder, in your LETTER HUNT folder.
- Format: JPEG
create contact sheet and print
- Open Adobe Bridge.

- On the left, look to find your pictures folder, and then find your "letter hunt" folder under that.
- Double click on your Letter Hunt folder. You should see all of your files along the bottom of your window.
- Double click on your Letter Hunt folder. You should see all of your files along the bottom of your window.

-THIS IS EXTREMELY IMPORTANT!
- You must HIGHLIGHT all of the photos that you would like to print. To do this...
Click and drag a box over all of your files along the bottom of the window to select them.
or
Hold down the shift key on your keyboard as you click each one to select multiple files.
- You should see the photos you have highlighted appear in the large window above the strip at the bottom.
-Now, with your files highlighted, look to the right-hand side of the window...
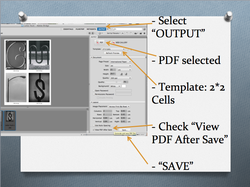
- At the top, select "OUTPUT"
- Not far below that, make sure "PDF" is selected.
- Where it says "Template," select "2*2 Cells" from the drop down menu.
- At the bottom, click the box next to "View PDF After Save"
- Finally, click "Save"
- At the top, select "OUTPUT"
- Not far below that, make sure "PDF" is selected.
- Where it says "Template," select "2*2 Cells" from the drop down menu.
- At the bottom, click the box next to "View PDF After Save"
- Finally, click "Save"
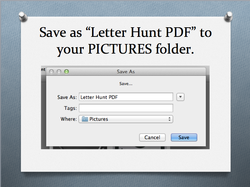
- Rename your file "Letter Hunt PDF"
- WHERE: Save it to your PICTURES folder!
- WHERE: Save it to your PICTURES folder!
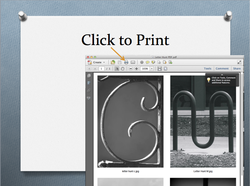
- After saving, your contact sheet should automatically open in Adobe Acrobat Reader.
- If you made it correctly, you should have 4 letters to a page.
- Click the printer icon at the top of the window to print.
- If you made it correctly, you should have 4 letters to a page.
- Click the printer icon at the top of the window to print.
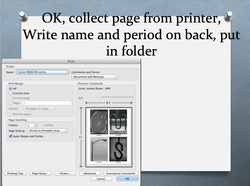
- Settings should be fine as they are, hit OK.
- When your contact sheet prints, collect it from the printer and put your name and period on the back. Put it in the folder by the printer.
- We will assemble it tomorrow.
- When your contact sheet prints, collect it from the printer and put your name and period on the back. Put it in the folder by the printer.
- We will assemble it tomorrow.
Assembling your name
- Use a paper cutter or neatly use scissors to cut each letter out. Leave a thin, even white boarder around each rectangle you cut out- roughly half a centimeter or so.
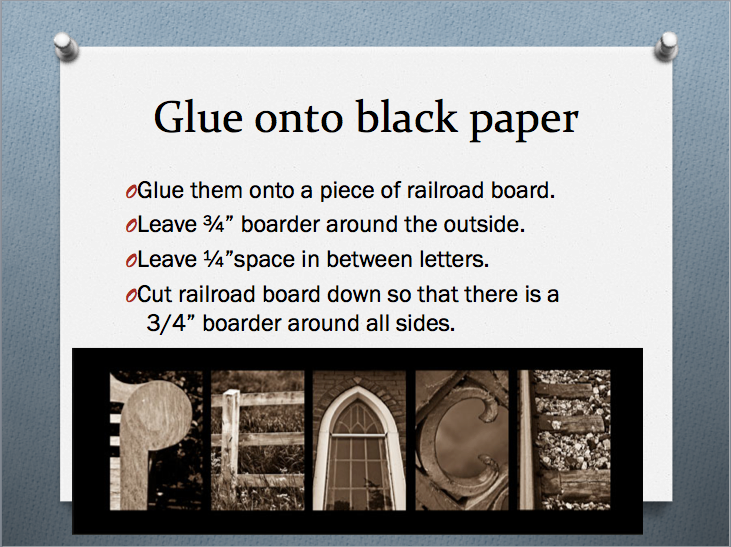
- Neatly glue each letter onto a black sheet of paper. You may choose to put each letter right up next to one another, or leave a bit of black space in between each. After all letters are glued down, cut down your black paper with a paper cutter. Leave an even boarder around all four sides, about an inch on each side.
- Write your full name and period number on the back with white pencil.