objective: students will create an animated gif in adobe photoshop inspired by muybridge's zoopraxiscope motion pictures.
instructions:
File > Open
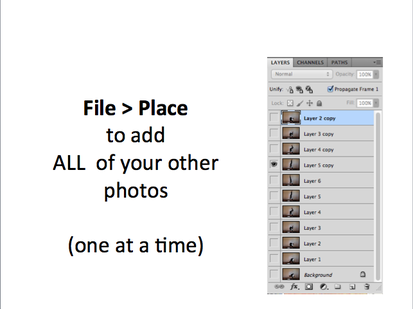
Now "PLACE" all of your other files into your current document.
Go to File > Place
Choose the next sequential photo.
Click the "Check mark" to confirm placement.
Go back to File > Place to select your next photo.
Repeat this process until you have all images placed as separate layers.
Go to File > Place
Choose the next sequential photo.
Click the "Check mark" to confirm placement.
Go back to File > Place to select your next photo.
Repeat this process until you have all images placed as separate layers.
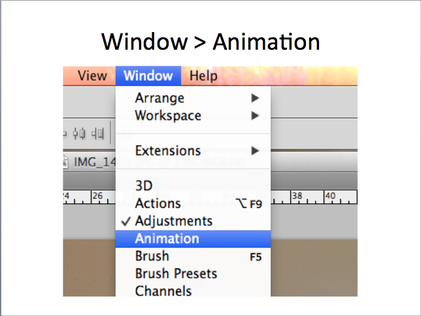
In the menu bar, go to Window > Animation
The animation panel will appear at the bottom of your workspace.
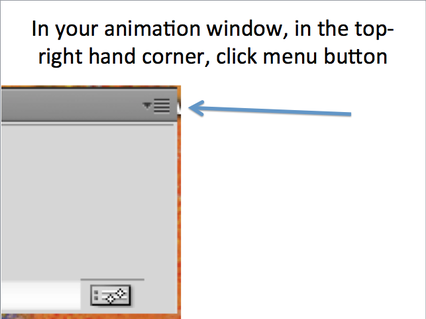
Find the menu icon in the top-right hand corner of the animation panel.
Find the menu icon in the top-right hand corner of the animation panel.
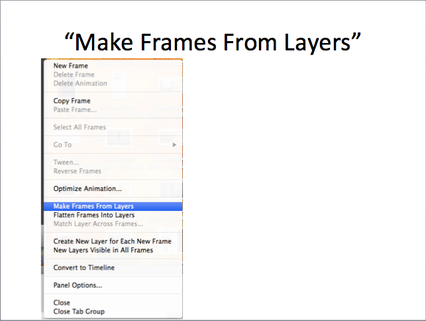
Click on that menu button, then select "Make frames from layers"
Your layers should now appear as separate frames in your animation panel.
Your layers should now appear as separate frames in your animation panel.
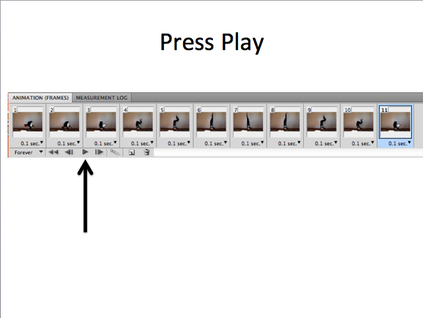
- Press play to see how your animation looks.
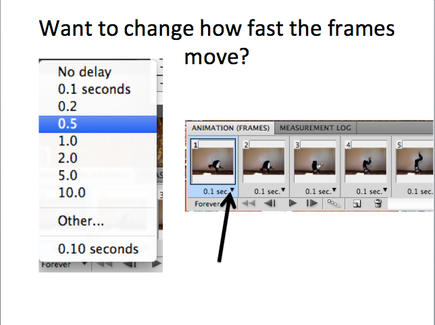
- Want to change how fast the frames move?
In the bottom right-hand corner of each frame, there is a down-pointing arrow.
Click on it to change the duration of each frame.
Try somewhere between 0.5 seconds and "no delay"
In the bottom right-hand corner of each frame, there is a down-pointing arrow.
Click on it to change the duration of each frame.
Try somewhere between 0.5 seconds and "no delay"
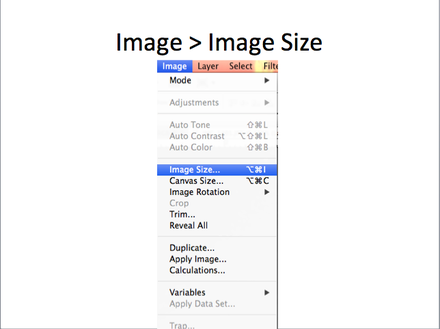
Our gif is very large, so lets make it smaller.
Go to Image > Image Size
Go to Image > Image Size
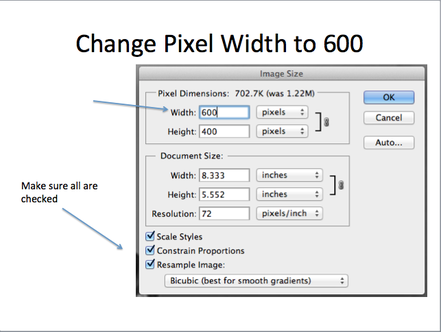
At the top, under "pixel dimensions" change the width to 600 (pixels)
Make sure that "scale styles", "constrain proportions", and "resample image" are all checked at the bottom.
Make sure that "scale styles", "constrain proportions", and "resample image" are all checked at the bottom.
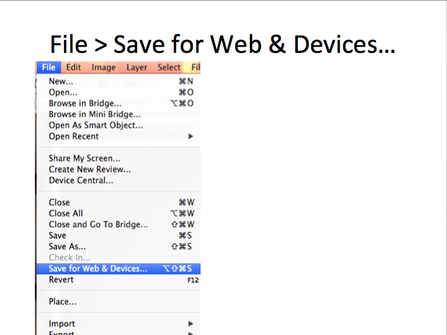
Now go to File > Save for Web & Devices...
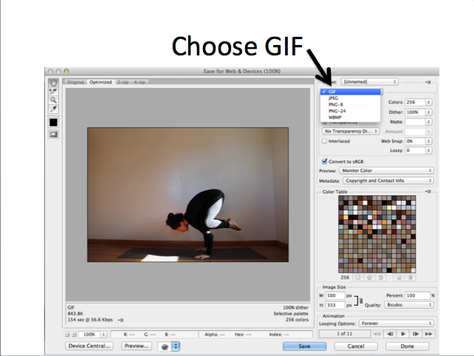
At the top, choose GIF as your file format.
Click Save.
Another box will pop up. Name your file "MuybridgeGIF" and save to your pictures folder.
Click Save.
Another box will pop up. Name your file "MuybridgeGIF" and save to your pictures folder.
