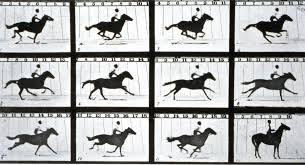
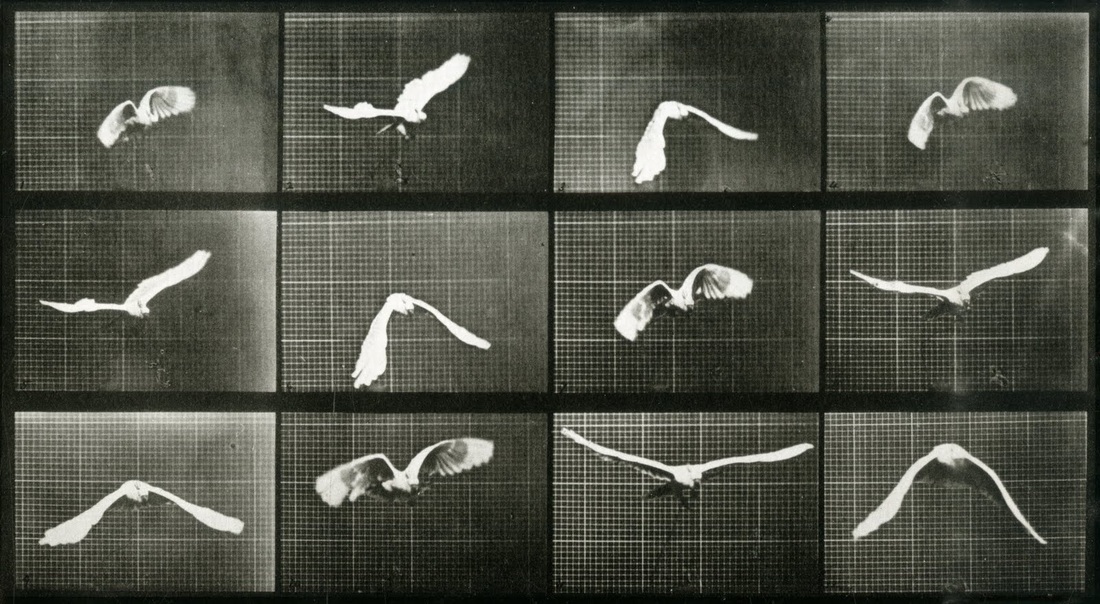
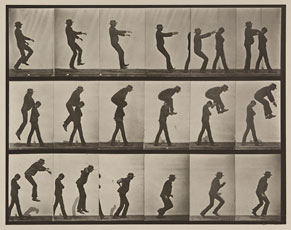
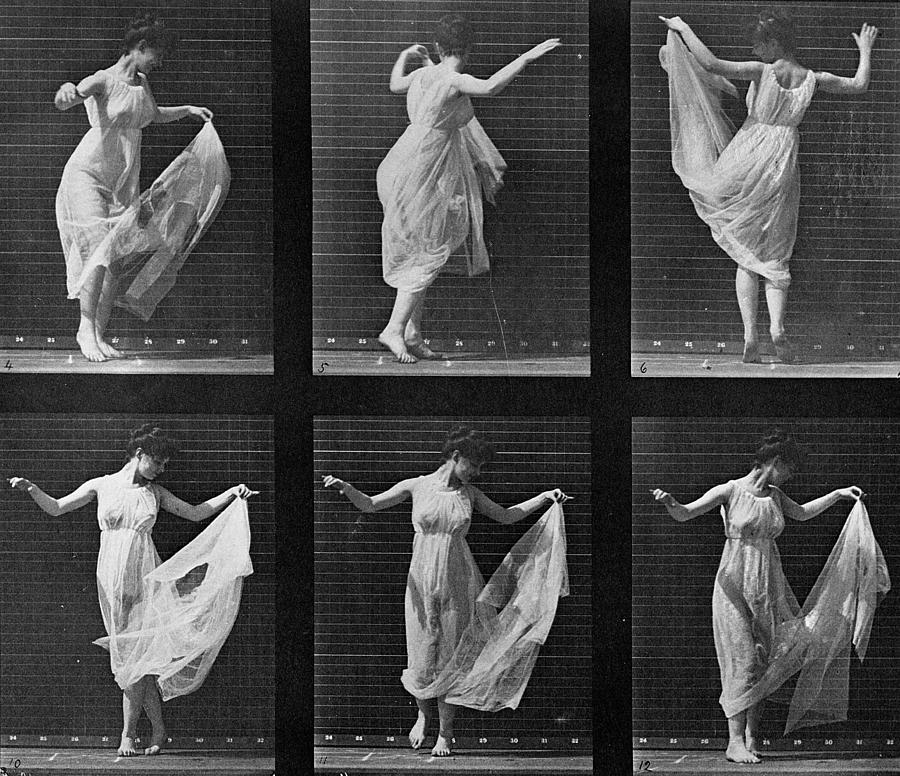
objectives: students will use layers and and layer masks in adobe photoshop to create a sequential motion photo inspired by eadweard muybridge.
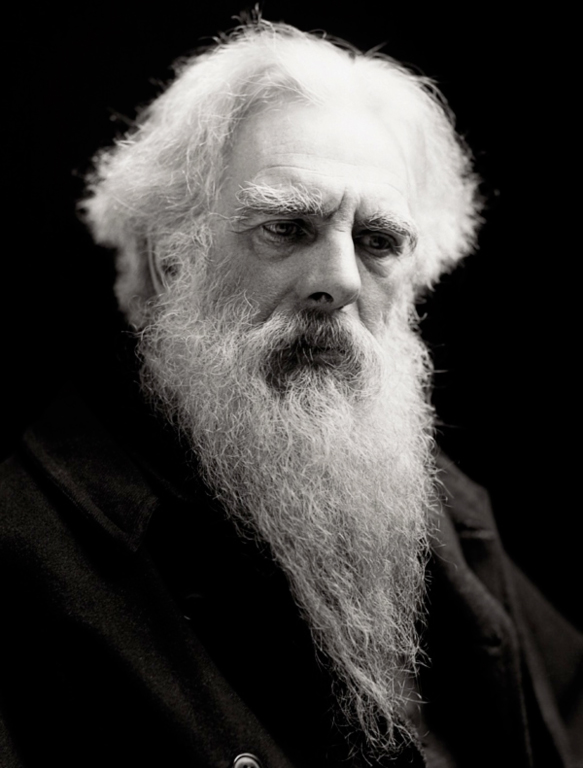
Eadweard Muybridge
|
|


your assignment:
You will be completing 2 assignments using the photos you shoot today...
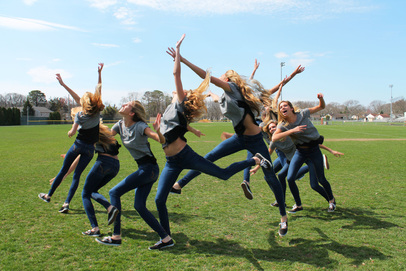
For your first assignment, you will be creating a "COMPOSITE" image showing a sequence of motion.
|
For your second assignment we will take a second sequence of photos and animate them to create a moving GIF file.
|
shooting instructions:
- Come up with at least 2 ideas for photographs based on movement- you or a group member running, jumping, throwing a ball, doing cartwheels, etc.
- Set up camera on tripod.
- Use Tv Mode, fast shutter (around 1/200-1/250)
- ISO- Auto
- AUTO FOCUS
- 18 mm Focal Length (Zoom out)
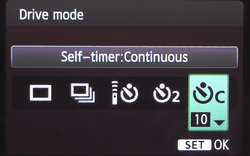
- DRIVE MODE- Use CONTINUOUS SELF-TIMER. It will look like the timer clock with a "C" next to it. Use your up/down arrow keys to set the number underneath it to 10. (When you hit the shutter button it will give you a 10 second count-down, and then will take 10 photos in a row)
- Now run around outside and have fun shooting action shots! Get at least 2 or three good sequences! Make sure subject is SHARP!
instructions:
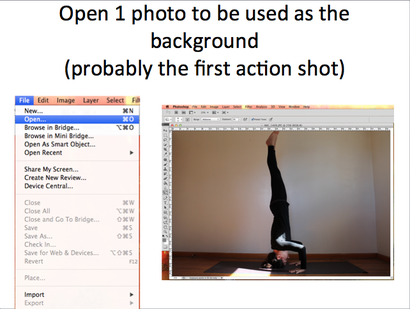
File > Open
Chose first photo of the sequence.
Chose first photo of the sequence.
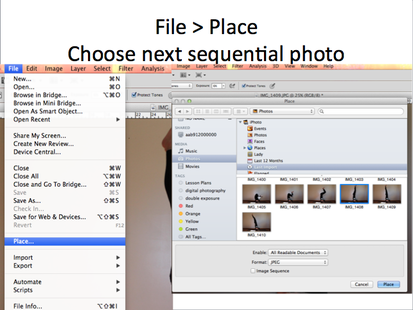
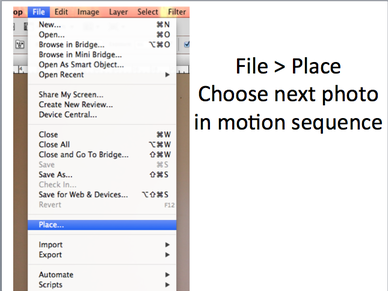
File > Place
Choose next photo in sequence.
Place.
Choose next photo in sequence.
Place.
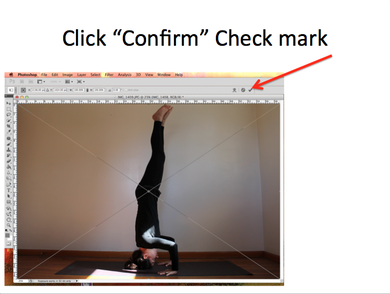
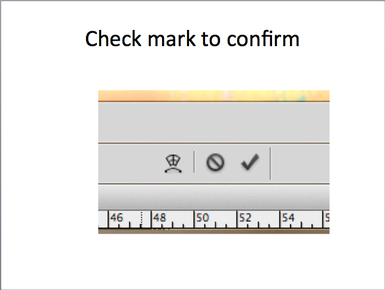
Click the check mark button to confirm (located on the left-hand side of the options bar)
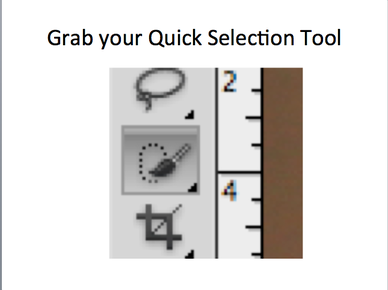
Now grab your Quick Selection Tool.
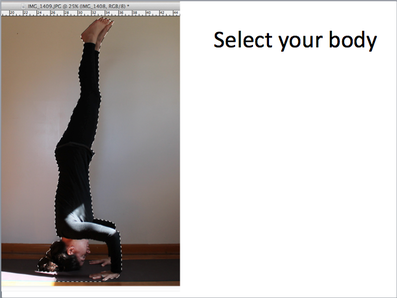
Click INSIDE of your subject's body to select the subject.
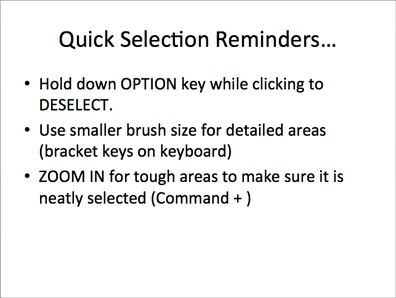
Reminders!
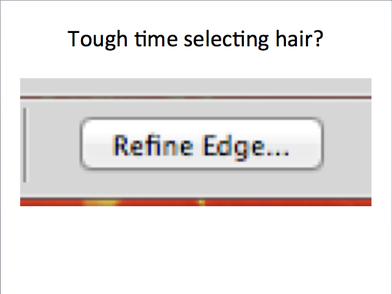
If you have hard to select areas like hair, click on "refine edge" found in your options bar.
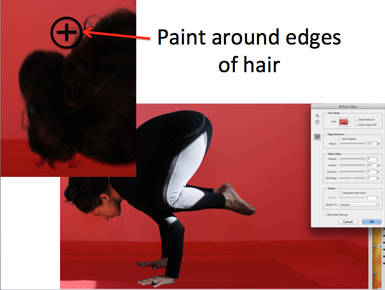
While in "refine edge" put your mouse over the hard to select areas and "paint" around the edge.
Click OK when done.
Click OK when done.
Now the magic happens!
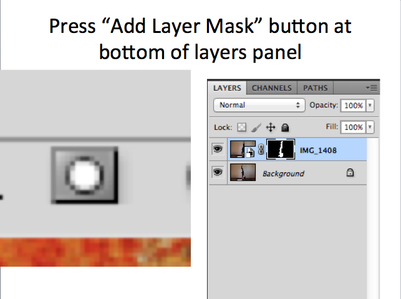
Click the "add layer mask" button at the bottom of your layers panel.
You should see the mask pop up next to your layer icon.
Click the "add layer mask" button at the bottom of your layers panel.
You should see the mask pop up next to your layer icon.
You should now see both the background layer and your new layer.
repeat!
Now repeat!
Go to File > Place
Choose the next photo in your sequence.
Click Place.
Go to File > Place
Choose the next photo in your sequence.
Click Place.
Click check mark to confirm.,
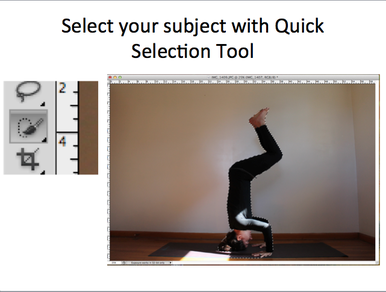
Select your subject with quick selection tool.
If you need to, refine edge around hair.
If you need to, refine edge around hair.
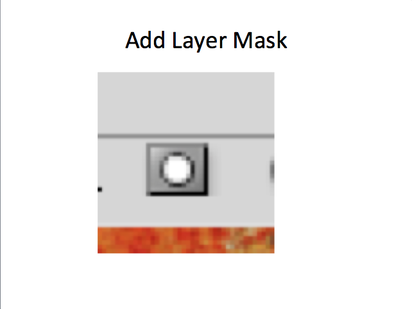
Add layer mask.

Ta-Da!
Now just keep repeating these steps until your photo is complete.
Now just keep repeating these steps until your photo is complete.
editing your image.

How does your final image look? Can you see each figure clearly? Is it too cluttered or busy-looking?
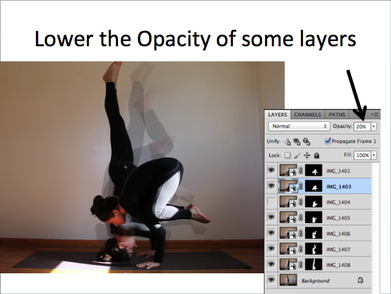
If so, experiment with lowering the opacity of some layers.
Just click on the layer you want to make transparent and then lower the opacity in the top-right-hand corner of your layers panel.
Just click on the layer you want to make transparent and then lower the opacity in the top-right-hand corner of your layers panel.
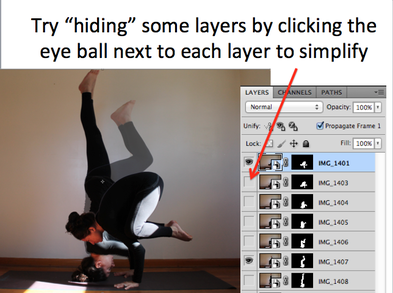
You also might find that you don't need quite so many figures in your sequence, sometimes less is more!
Try turning the eye-balls on and off next to each layer to see if it looks better without them.
If you like it better without a certain layer, just leave the eyeball off to hide it. (this way if you change your mind later, you can easily bring it back again!)
Try turning the eye-balls on and off next to each layer to see if it looks better without them.
If you like it better without a certain layer, just leave the eyeball off to hide it. (this way if you change your mind later, you can easily bring it back again!)
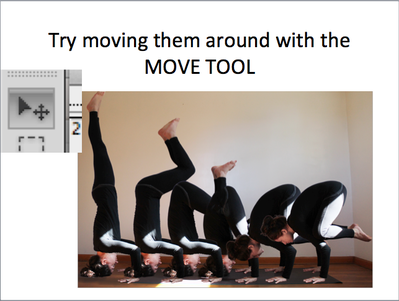
If your figures are overlapping each other too much and you want to move them around you could do that too.
Select your MOVE TOOL.
Your move tool will ONLY move the layer that is selected at that moment.
Select your MOVE TOOL.
Your move tool will ONLY move the layer that is selected at that moment.
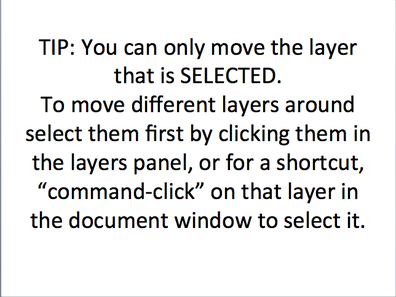
To move another layer, "command-click" the person you want to move. Command-clicking will select that layer. (or you could do it the long way and select the layer from the layers panel.
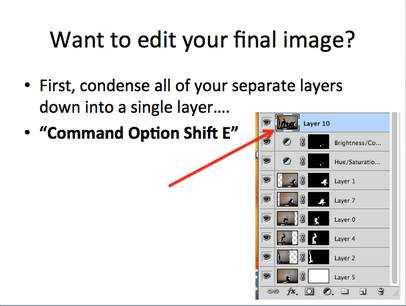
Before we make final edits to our image, we are going to CONDENSE all of our layers into one... but we still want to keep our separate layers as well in case we need to go back and make changes.
We are going to make a NEW layer that contains all of the layers below it condensed into one.
To do this, hit "command option shift E" on your keyboard.
You should see the new layer pop up at the top.
We are going to make a NEW layer that contains all of the layers below it condensed into one.
To do this, hit "command option shift E" on your keyboard.
You should see the new layer pop up at the top.
Now make any other edits necessary such as....
- cropping
- lightening or darkening
- adjusting contrast
- adjusting color
- sharpening
- adding vividness
- make the background blurry?
